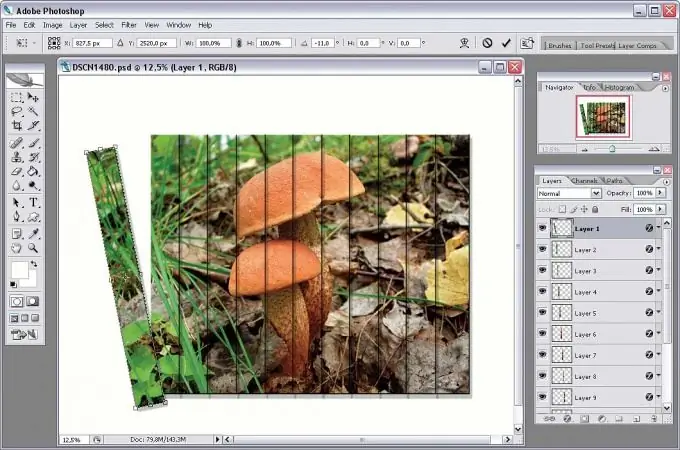
In preparing a website, an important stage is the layout of the design layout, and it is impossible to carry out layout without knowing the technology of the correct cutting of the image into fragments. To do this, it is best to use the graphics editor Adobe Photoshop, which will allow you to most accurately cut the image into parts, and later you can use the table to combine all the fragments of the picture into one whole.

Instructions
Step 1
Open the image in Adobe Photoshop, having thought in advance what parts the site will consist of, which means what parts you need to divide the original drawing into. Start by creating guide lines for slicing the pattern. Having marked all the guide lines, select the Slice option on the toolbar, or call it by pressing the K.
Step 2
Trace the area outlined with the guidelines so that a blue box appears in which you can see the fragment number. Use this box to outline all the sections selected by the guide lines, and then using the Slice Select tool, click on each section if you want to resize it.
Step 3
After using this tool, the border color changes from blue to yellow, and you can move the borders of each fragment with the mouse cursor by the sides and corners. You can quickly switch between Slice and Slice Select modes by holding down the Ctrl key.
Step 4
Resize the selected areas so that they do not intersect, and at the same time do not create gaps between the borders. After selecting all the fragments and cutting the drawing into the required number of areas, save them.
Step 5
In areas where several fragments make up a solid background, you can replace them with a single solid color fragment, as well as equip with a transparent picture in.
Step 6
Using the.gif"


