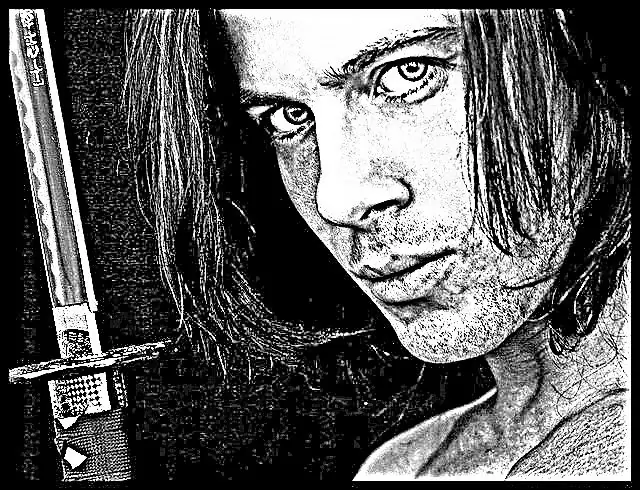
Even if you did not go to art school, you can easily create a graphic (pencil) drawing that will delight the eye. There are various ways to turn your photo into a pencil drawing. We will look at an easy way to do this using Photoshop.

Instructions
Step 1
So, you have already decided from which photo you will make a pencil drawing. In our example, this will be a picture of a brutal guy taken from a stock photography site.
Step 2
Let's start by opening the photo that you want to turn into a pencil sketch in Photoshop. To do this, open Photoshop, click the "File" menu, in the window that appears, click "Open" and then select a photo from the desired folder.
Step 3
Since we will be "drawing" with a simple pencil and not with crayons, the photo must be made in black and white. Go to the Image menu, then select the Mode menu item and then Grayscale.
Step 4
Then a message will appear asking: "Delete color data"? We answer in the affirmative by clicking "Cancel".
Step 5
As a result, we get a black and white image. Let's go further.
Step 6
The photo in this example is darkish, so it is advisable to lighten it so that the pencil drawing turns out to be lighter. If you need to darken a too light photo or lighten a darkened photo, select the menu item "Image" (Image), in the window that appears, click "Correction" (Adjustment), and then select the item "Brightness / Contrast" (Brightness / Contrast). If this is not necessary, skip this and the next item and go to step 9.
Step 7
Let's play with the brightness and contrast of the photo. (Please note: the parameters that are set in this photo may not work for you, so be guided by your photo).
Step 8
So, we should have a lightened photo (see photo).
Step 9
Now we go directly to creating a pencil drawing from a photo. To do this, go to the "Filter" menu, in the window that appears, select the "Sharpen" menu item, then the "Unsharp Mask" item.
Step 10
Work with the Radius and the other parameters - Amount and Threshold - until you get a pencil drawing effect that suits you.
Step 11
The pencil drawing is ready.
Step 12
And here is another version of the picture, more darkened (it turns out if, again, play with brightness and contrast).


