The portrait is one of the most difficult, but at the same time the most fascinating and multifaceted type of photography. And in order to shoot not just a perfectly high-quality, retouched portrait, but to capture the soul of a person, his emotions, it is important to catch something more than a simple similarity.

Tip 1: seize the moment
The brilliant photographer Henri Cartier-Bresson is known for being able to instantly recognize the significance of what is happening and capture any scene at its peak, the “decisive moment,” as he called it. Pressing the shutter at the right, decisive moment, when everything is in its place, is a guarantee not only of a good portrait, but also of any other photograph.
Tip 2: Remember posture
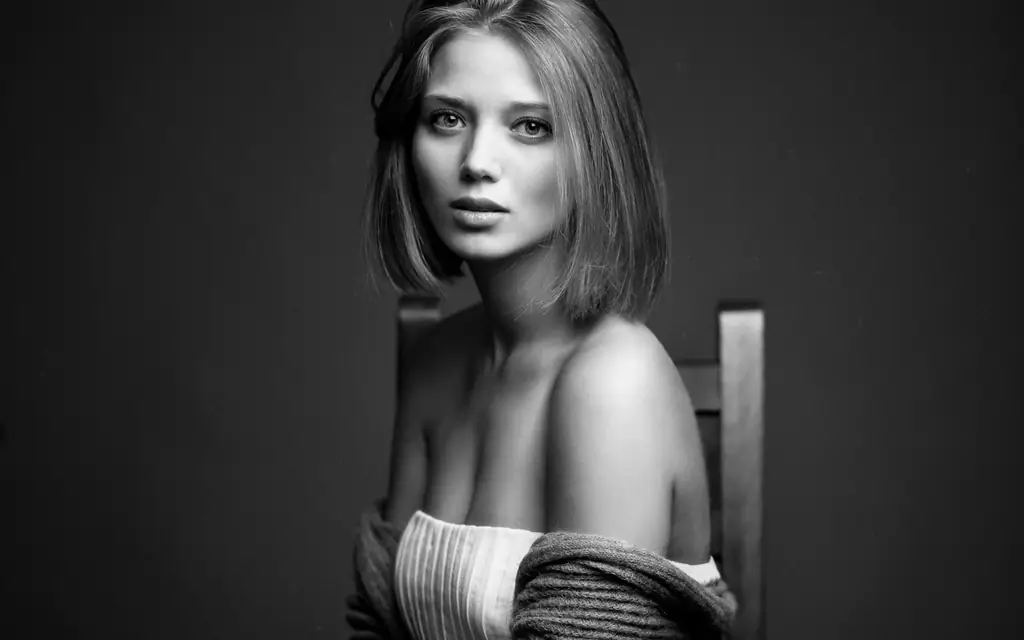
The body has its own language, so a person's posture is very important in a portrait. Indeed, it is by the very pose, the position of the arms and legs of the person depicted in the portrait, we judge his mood and character. Any pose, be it a close-up shot, a bust portrait or a full-length photo, begins with setting the legs, since it is the correct position of the legs that determines the desired general position of the entire human body.

Tip 3: Correct hand placement
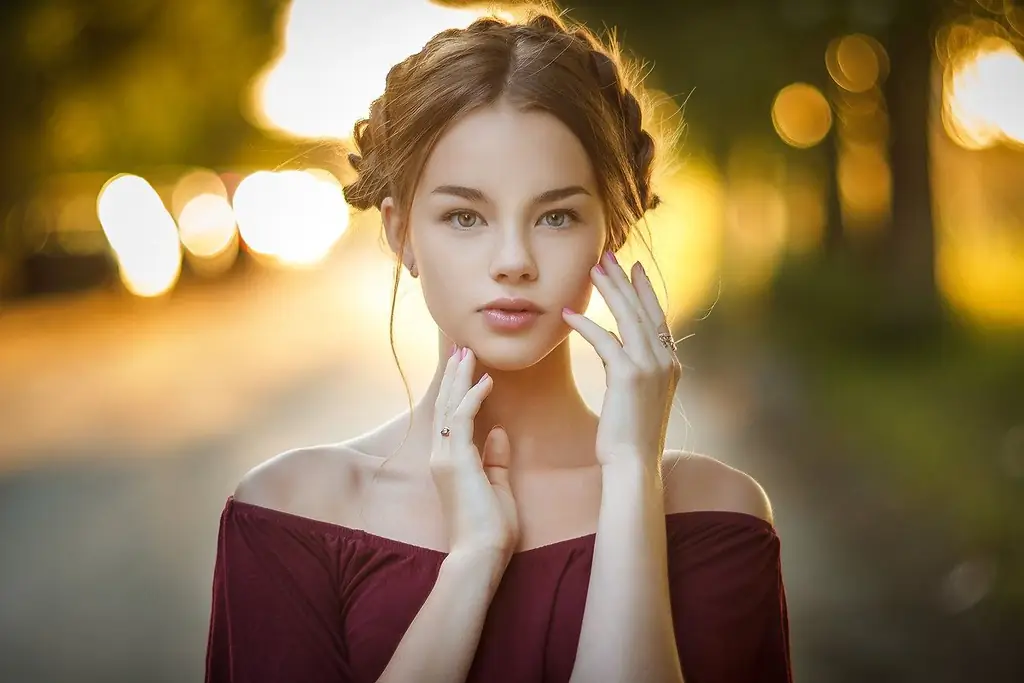
Hands can, as well as enliven a person's pose, reveal certain traits of his character, and irreparably ruin a portrait. Therefore, the hands are assigned one of the main roles in the photographic portrait. The arms will look thinner, sleeker and more elegant if they are positioned above the waist, the hands are slightly upward and turned to the camera with the side, and the wrists are slightly bent. This hand position is the most pleasing to the eye and your clients will certainly appreciate it.

Tip 4: head position
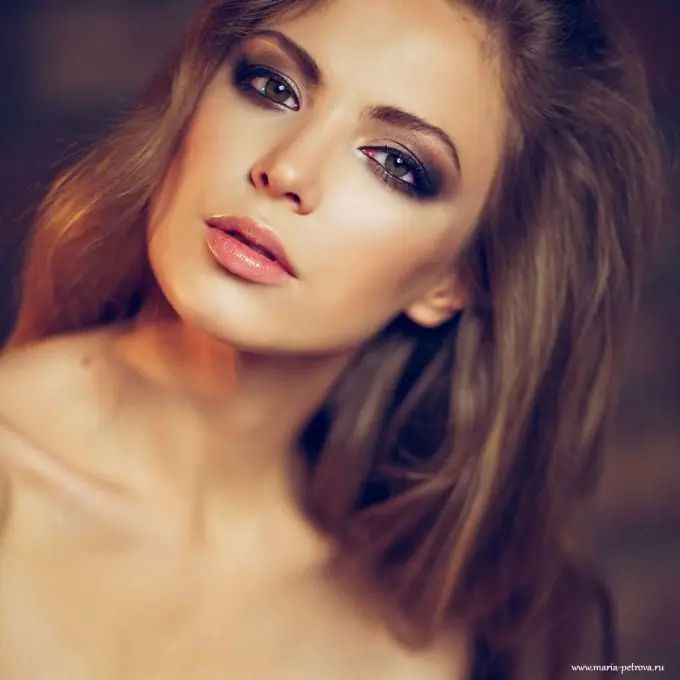
The position of the head in a photographic portrait has one of the decisive values. Considering the face shape of the model in front and in profile, try to find the most advantageous head position. Try to avoid both excessive turning or tilting of the head, and direct shooting from the front.
Tip 5: Lighting
The best lighting scheme is classic and simple "Rembrandt", which can emphasize not only the sculptural features of the face, but also the color and texture of the skin. By placing your lighting fixtures, both horizontally and vertically, at a 45-degree angle to your subject, you can achieve the classic portrait effect in no time.
Tip 6: eliminate distracting backgrounds
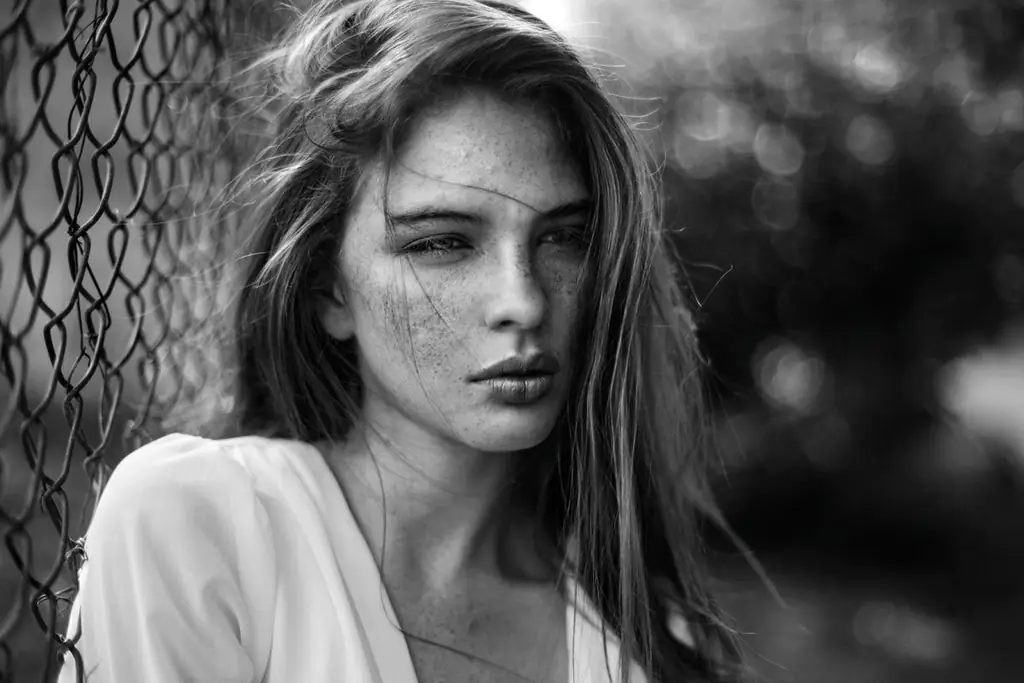
The main thing in a portrait is the subject itself, so always try to separate it from the background. There should be no distracting background elements in the portrait. Remember that the human eye is involuntarily attracted by bright colors, text, human-like shapes and figures, so it is better to keep them out of frame than to retouch the client later.

Tip 7: contrast and color harmony
Choose color relationships according to the theme and purpose of your photo shoot. Differences in hue, saturation, and lightness can be achieved by adjusting the location and brightness of lighting fixtures, focal length or angle, camera settings, and more. By increasing or decreasing the contrast of the image and the saturation of colors, you can not only change the appearance of the person being portrayed, but also completely change the message that you are trying to convey to the viewer.
Tip 8: glare in the eyes
If the eyes are visible in the frame, they must definitely catch light and have glare. Without glare, the eyes look “dead” in the photo. Be sure to make sure that at least one of your model's eyes has a lens flare, this will not only brighten the eyes, but also bring the whole picture to life.
Tip 9: the photographer's first aid kit
Your kit should include a small cosmetic mirror, elastic bands or hairpins, safety pins, facial wipes, disposable combs, hypoallergenic wet wipes and other little things with which you can quickly eliminate shiny foreheads and noses.fix a naughty curl or even cool off on hot days.
Tip 10: Everything you need is near
Posing for a portrait tires any person quickly enough, so try not to delay the shooting and carry it out quickly and efficiently. During an on-site photo session, having your own equipment, especially a lens, flash, or a tripod somewhere “out there” - in the car, for example, is almost the same as not having it at all.
Tip 11: Sign a contract with the model
In addition to the contract, ask your model to sign a special form called “model release”, especially if you plan to use her images for other purposes, such as advertising, photo exhibitions, illustrations for books, magazines, etc. A contract with a model is one of the most important documents for a photographer who conducts staged photo sessions with the participation of photo models.

Tip 12: be a person
Always try to come across as a confident and confident professional, even if in fact you are just as nervous as your model. If a person feels that you doubt what you are doing, he will not be able to trust you and a tense atmosphere of nervousness will reign on the set and the whole process of photography will be a complete torment, both for you and for your client. Be empathetic, friendly, and determined.


