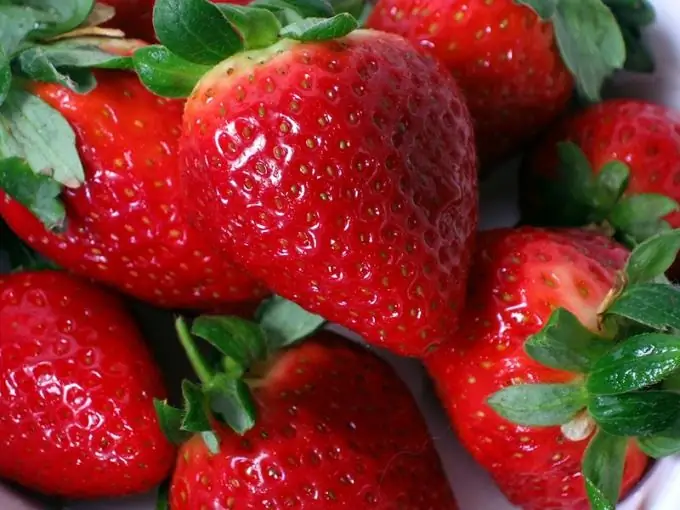
Fresh strawberries can delight your eyes only in summer, but if you want to decorate any interior element, a children's panama or a handbag with strawberries, you can crochet the strawberries, and they will not be inferior to real berries in terms of color, and will also delight your eye throughout the year - even in autumn and winter.

Instructions
Step 1
Prepare a crochet hook and fine cotton yarn in red, green and white. First, cast on four white yarn air loops and close the chain into a ring. Start tying the ring of loops, forming the first row of single crochets, and then in the second row increase the number of single crochets to 10-12 pieces.
Step 2
In the third row, add new stitches to get 14 single crochets, and in the fourth you should have 16 stitches. Knit 6-7 rows in this way, and then change the white yarn to red, and continue knitting the strawberry with red thread.
Step 3
Depending on what shape of the berry you want to get, do the required number of increases and decreases in the loops, but remember that in the middle the berry should be widest, and towards the top it should taper again. In this case, the narrowest part of it should be at the bottom - you have tied this part with white threads.
Step 4
Turn out the finished berry, and then start closing the loops to avoid the appearance of holes between the posts. Close every third loop in the first row, and in the second - every second loop, and then stuff the berry with padding polyester. Use red acrylic paint to tint the white bottom of the berry to create a smooth transition from red to white threads.
Step 5
Separately tie a strawberry sepal by tying in a green yarn chain. In the first row, tie three lifting chain stitches, and then 11 double crochets in the last loop of the chain.
Step 6
Continue to knit the sepal, making the shape of a real sepal with three or four pointed tips. Sew the finished sepal onto the top of the berry.
Step 7
If you wish, also tie a few leaves according to a simple pattern, with which you will decorate the berry.


