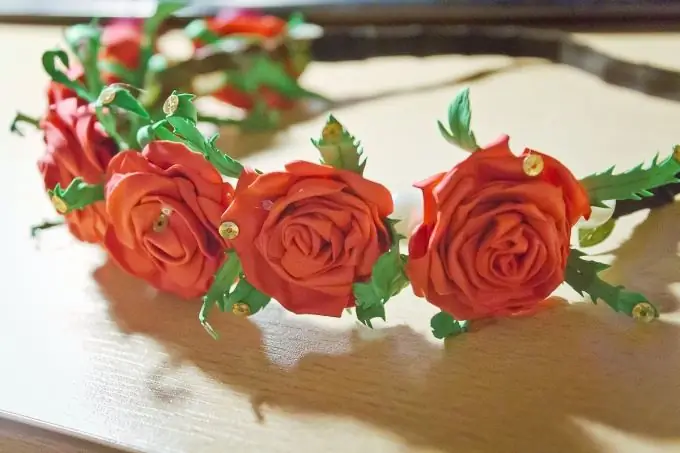
Foamiran is a versatile material with amazing plasticity. You can quickly make a spectacular head ornament from it with your own hands. Wreaths are now at their peak of popularity, so do not miss the chance to be the most stylish and fashionable.
It is necessary
- - a linen elastic or a base for a wreath / headband;
- - red and green foamiran;
- - glue gun and rods;
- - iron;
- - scissors;
- - a toothpick;
- - sequins, hemispheres like pearls.
Instructions
Step 1
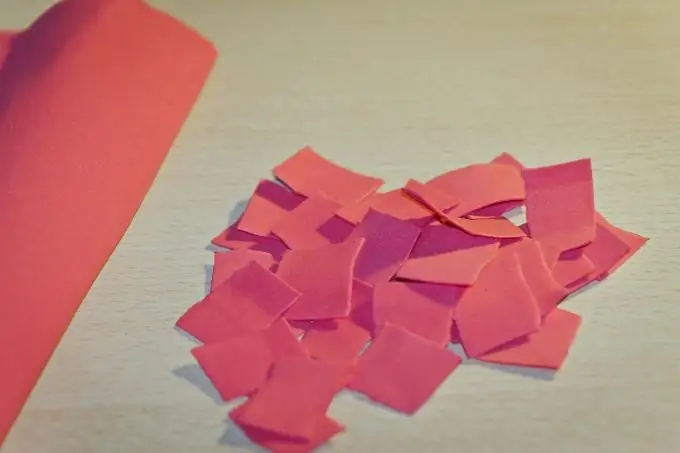
Cut the red foamiran leaf into squares with a side of 1, 5-2 cm. Make the edges uneven to make the petals look more natural.
Step 2
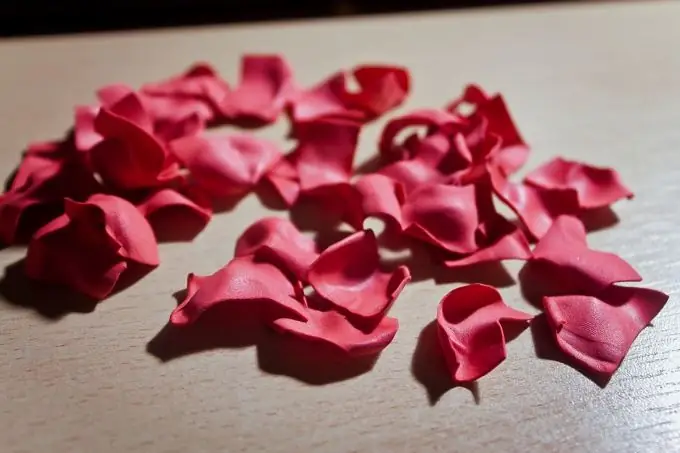
Heat the iron and apply the petal. While it is hot, give it a convex shape, and bend the edges in the opposite direction so that the top edge of the petal looks out. Do this with all the squares.
Step 3
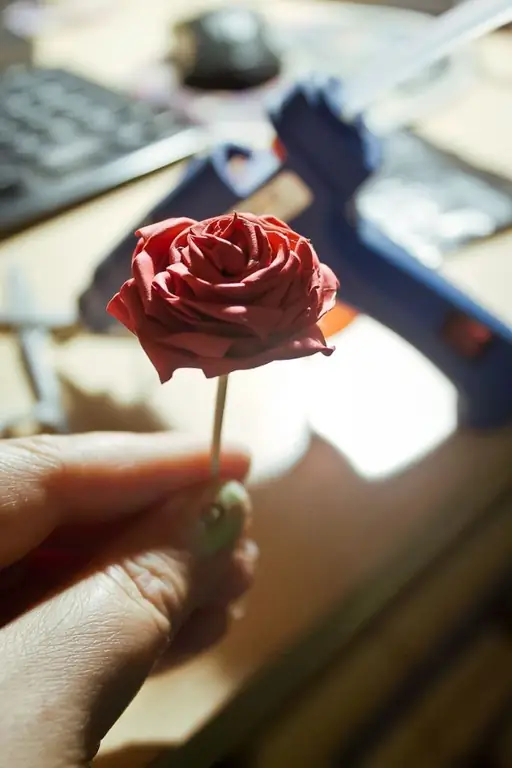
Collect the flower. Hot glue the edge of the first petal to a toothpick with a hot gun and twist it tightly around the stick. So gradually stick sheet by sheet, gathering each at the base a little.
Step 4
Sepals. Cut out green stars with convex edges from the green foamiran leaf, go along the edge with scissors, making cuts every half a millimeter, directing the tips of the scissors to the edge.
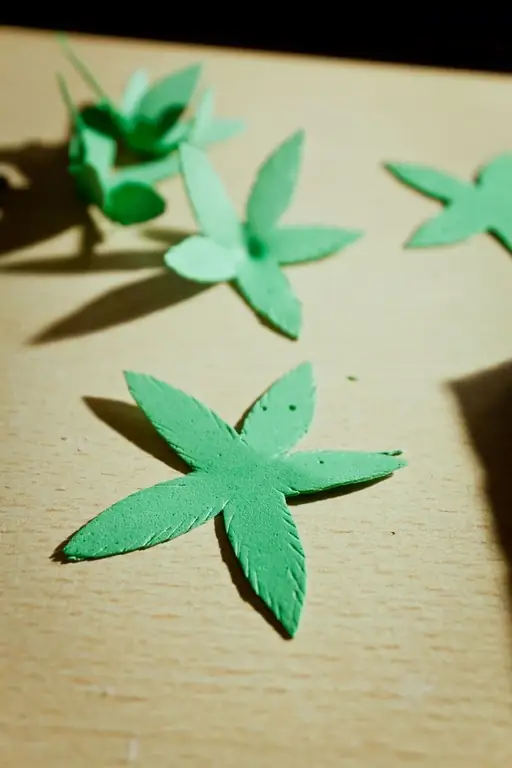
Step 5
Heat the center of the cup and make it convex to form a cone.
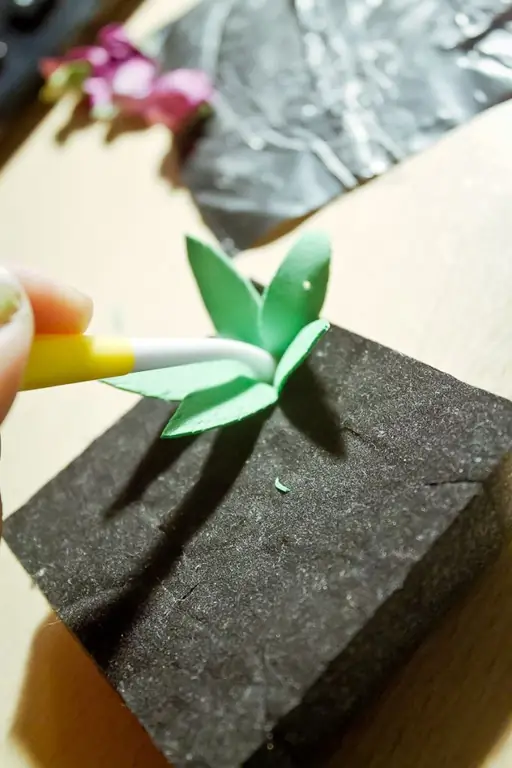
Step 6
Now apply the sepals to the iron one at a time and gently pull them out, pressing them with a stack or toothpick against the sole of the iron.
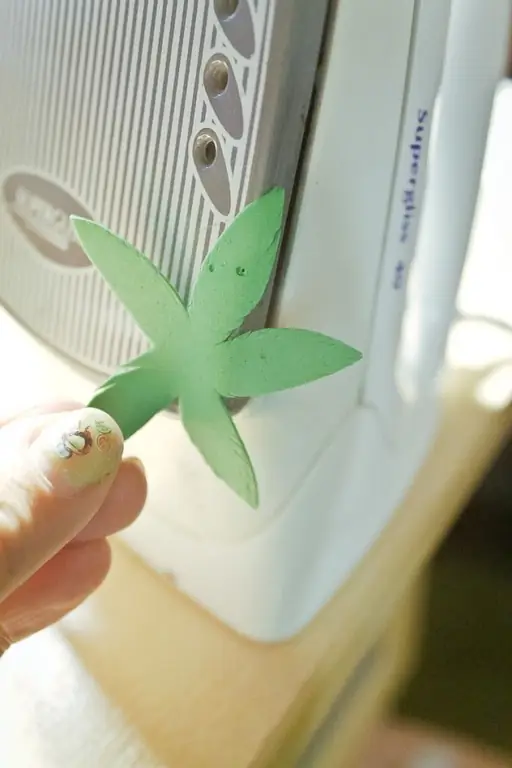
Step 7
Pull gently so as not to break the leaves.
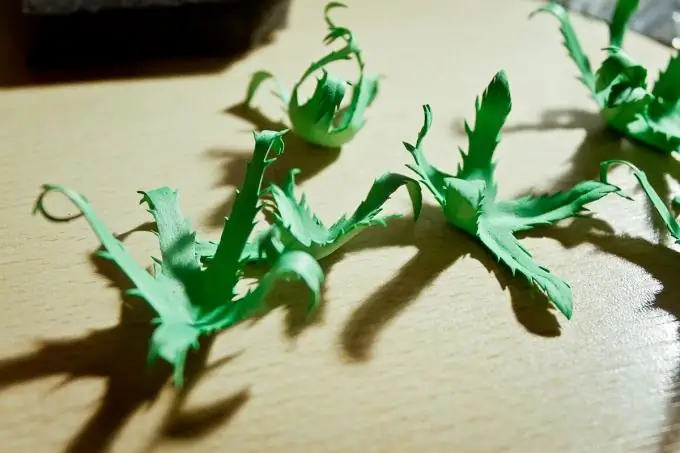
Step 8
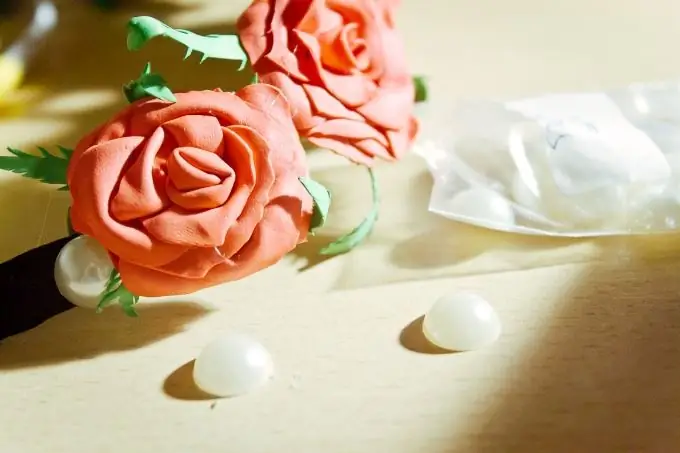
Glue the roses to the cups and fix on the wreath base. It is not necessary to glue it over with roses completely - 7 flowers in front are enough. On the back, it is easy to camouflage the elastic with hair.
Step 9
Decorate the wreath with pearl-like hemispheres, and the flowers themselves with rhinestones and sequins.


