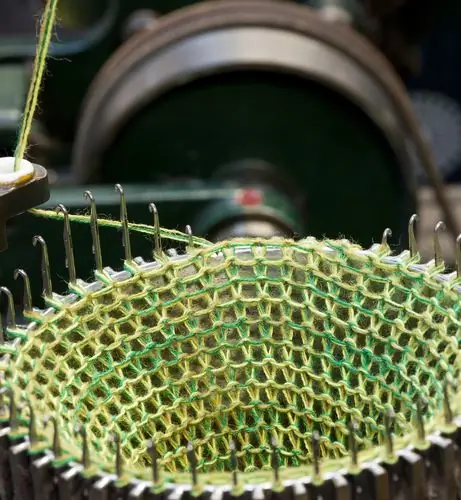
The hand knitting machine offers a wide range of creativity. A faster pace of work allows you to create warm masterpieces in the shortest possible time.

Instructions
Step 1
In order to start working on a manual knitting machine, first carefully study the accompanying technical documentation. Strictly follow the directions in it. Place the clipper on a flat, well-lit work surface. Place the skein in a plastic container to hold it in place.
Step 2
Place the work hooks in the opposite position to each other. To do this, slide the screws (top and bottom) towards each other. Thread the end of the thread into the thread guide. First, slide the free end over the small tab of the yarn feeder, and then under the large one. Draw the thread into the flared part of the fixture. It must pass freely between the walls of the yarn feeder. If you feel that the thread is difficult to move, slightly increase the gap.
Step 3
Move the knitting machine carriage to the far right. Tie the free end of the thread to the left foot (clamp) of the machine. Take a comb and pull out the required number of needles to the front non-working position (towards you).
Step 4
Start with the first needle on the left and thread it counterclockwise.
Step 5
Bring the working thread under the next needle, and also wind it counterclockwise. Repeat this movement, reminiscent of the number 8, sequentially to the end of the row. When you reach the outermost needle, insert the thread into the thread guide, close the latch and adjust the thread tension.
Step 6
Take a comb in your hands and slide all the needles away from you, transferring the typed threads to the second bar. The formation of the initial row is over. Reset the row counter.
Step 7
Hang the comb over the loops that have been formed to prevent the knitting from pulling. Continue your creativity using your chosen pattern. Do not forget to often measure the knitted fabric in length, width and compare with the pattern. After finishing work, remove dust and wool residues from the machine.


