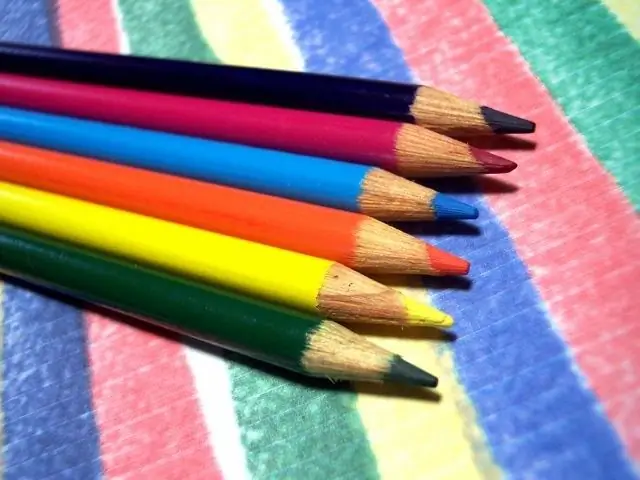
Drawing is great for developing imagination and spatial thinking. Therefore, this type of leisure is suitable for almost everyone. Mastering the technique of drawing, it is better to start with small and uncomplicated elements. For example, scratches.

Instructions
Step 1
Most often, a scratch means a mark left by a sharp object on a surface. Usually it looks like a straight line or a winding line, it can vary in depth or width. To draw a scratch, you must first think about its length, depth and origin. Remember that scratches will look different on different textures.
Step 2
If you need to draw a scratch - an element of carnival makeup, use a special marker for body painting. You can use a regular felt-tip pen, but it may be less resistant to sweat and grease. In accordance with the intended way, carefully draw the required number of lines. Don't try to keep them perfectly straight; natural scratches tend to be slightly curved. If you want to depict a serious scratch, you can add depth to it by using a darker shade in the center, bordered by lighter stripes.
Step 3
If you need to depict a scratch in the picture, carefully monitor the correct color selection. For example, a scratch on your hand will be darker than the skin, and on a car it will be lighter. In order not to be mistaken, imagine the layer-by-layer structure of the depicted object - then it will be clear what should be seen when the upper layer is violated.
Step 4
If you are drawing in a graphic technique, a subtle scratch can be drawn using a regular line. If you need to emphasize depth, use chiaroscuro techniques. Imagine a scratch with an enlarged groove. Place the light source in a certain place. Using shading or simply applying more pressure to the lead, accentuate the shadowed edge of the scratch.
Step 5
If it seems to you that the audience may still not understand that there are scratches in the drawing, you can add hints-symbols: the seams connecting it, strips of adhesive tape or plaster.


