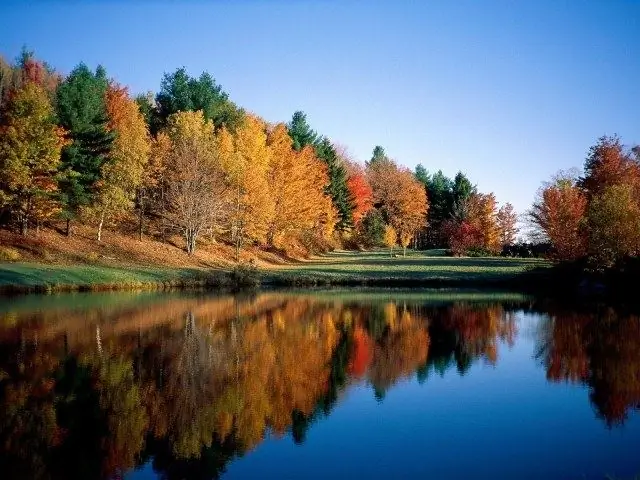
Reflection on mirrored surfaces often helps to create a completely new outline of the object seen. When photographing reservoirs, shop windows and people, many pay attention to the result obtained only after a while. Sometimes, looking at pictures, on the surface of the water and on the glass, you see this or that object, which may be completely superfluous. And sometimes, the photo turns out to be gray, because the photographer failed to "catch in the frame" the reflection of the surrounding environment. With the help of the Photoshop program, you can draw it on any photo.

It is necessary
- - object image;
- - displacement map;
- - Photoshop program.
Instructions
Step 1
Reflection on water Download a special displacement map in addition to the program and open it in Photoshop. In the main menu of the program, find the "File" tab and select "Save As". When saving the resulting document, specify the psd format.
Step 2
Open the selected image. Take the Rectangular Selection Tool and select the area of the photo that will be reflected in you. Go to the "Image" tab and apply the "Crop" function. Call this layer the main one.
Step 3
Go to the Image tab again, but this time you need the Canvas Size feature. Check the box next to the word "Relative". Now look at the current size value, you only need the height. Remember this number and enter it into the height of the new image. Of the nine small squares, click on the second one located in the first row. Confirm your choice by clicking on the Ok button.
Step 4
Make a copy of the existing layer and name it reflection. In the main menu, select "Edit", in the tab that appears, find "Transform" and apply the "Flip Vertical" function. Go to the "View" menu and use the "Bind" option. Using the Move tool, move the reflection layer and dock it with the main layer.
Step 5
In the right side menu, click on the Add Layer Mask button. It is important that the mask is added to the reflection layer and not to the main one. Make the mask active and grab the Gradient Tool. In the settings choose from black to white and linear. Draw a line of the gradient from the bottom to the junction of the two images, while remembering to hold down the Shift key.
Step 6
Create a new layer and place it in the second position from the bottom, immediately below the reflection layer. Take the Eyedropper tool and select the lightest part of the sky on the main layer. Select the new layer and press Alt + Delete. Make the reflection layer active, and click the Lock Transparent Pixels icon located in the Layers panel menu.
Step 7
Go to the menu "Filter" - "Blur" and apply "Motion Blur". Set the following parameters: angle - 90 degrees, distance - 75 pixels. Click on the lock icon again. Press the Ctrl key and, while holding it, click on the reflection thumbnail. Open "Filter" - "Distort" and select "Offset". In the window that appears, enter the values: horizontal - 20, vertical - 60 and click OK. Find the previously downloaded map and confirm by clicking on Ok.
Step 8
Create a New Adjustment Layer and press Ctrl + Alt + J. Double click on the new layer and in the window that appears, start moving the sliders, focusing on the resulting image. Feel free to experiment and try different options.
Step 9
Reflecting an Object on a Flat Surface Open a selected object image. In order to work more conveniently, name the first layer base. Duplicate it and rename it base reflection. Make the second layer active and find in the main menu "Edit" - "Transform" - "Flip Vertical". Move the resulting image down by selecting the Move tool and holding down the Shift key. Now you can see how your object has a reflection, but it needs to be adjusted a little
Step 10
Right-click on the canvas reflection layer and choose Blending Options> Gradient Blending. In the tab that appears, set the following values: mode - normal, opacity - 100%, style - linear, angle - 90 degrees, scale - 100%. When finished, check the box next to "Align to Layer".
Step 11
Apply "Gaussian Blur" and set the value of the radius to 2, 0. Save the result and can show your friends. You can try other different effects if you like.


