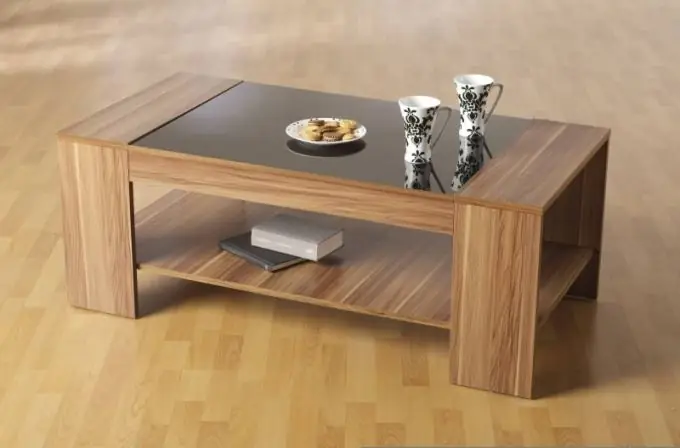
There are a lot of varieties of making a coffee table, since it is not difficult to make it and in many cases even drawings are not required. For the interior, this thing is not irreplaceable, but it is rarely superfluous.

Table making
To start work, you need to make a markup of all structural elements. It is most convenient to do this with a tape measure, a ruler and a pencil, trying not to allow even the slightest distortions. Then, with a jigsaw, saw off parts of the coffee table structure, starting with rectangular ones. In order for the cutting line to go smoothly, with the help of a clamp, a straight rail is fixed on the board to be sawn, it will serve as a guide for the jigsaw. On curved lines, this method will be useless, and you will have to rely on a steady hand to cut.
In order for the jigsaw to run smoothly, the pressure on its handle must also be applied evenly, without increasing pressure on the front or back of the tool.
Paired elements in the design of the table, the sides and the table top with the bottom, must be absolutely identical. To do this, the workpieces are pulled together with clamps and cut out at the same time, while folding their front sides to each other. However, with materials as difficult to cut as chipboard, chips and deviations from the set line occur, which can then be straightened out with a rasp. In order not to make even more chips, they are treated with neat movements and only from themselves. The edges are cleaned with sandpaper and the furniture edge is glued with a hot iron.
After that, the holes for the confirmations are marked, the inside of the table is assembled, installing the sidewalls on the lower shelf. To fix the table top, in addition to the confirmations, you will need a corner, since otherwise the table may "fold" if handled carelessly.
The confirmat can have three diameters, this should be remembered when choosing and drilling.
The last step is screwing the wheels to the bottom shelf. They also need to be correctly marked and secured well, choosing fasteners in such a way that they do not pierce through the bottom shelf.
Countertop finishing
The easiest, fastest and most affordable way to decorate a tabletop is to use a wallpaper or a border; a printout of any picture is also suitable. The dimensions are carefully adjusted, the table top is varnished in one thin layer and paper is applied to the wet coating. It is advisable to dry each layer of varnish for at least a day, the number of layers depends on the desire of the master. The more layers, the better the simplest picture looks - it acquires depth and volume.
A pattern on a chipboard can look very specific if you do not first prime the tabletop and paint it in the desired color. Before these important procedures, one more is most often needed - cleaning with sandpaper, first coarse, then the finest, so that the paint and soil have good adhesion to the surface. The primer is used art, acrylic, you can also paint with acrylic, or you can take oil paints. It is better to varnish the finished drawing in at least three layers, since the surface of the table will be actively used. Acrylic and oil are not afraid of moisture, but they can quickly fade, moreover, it is much more convenient to erase various stains from varnish.


