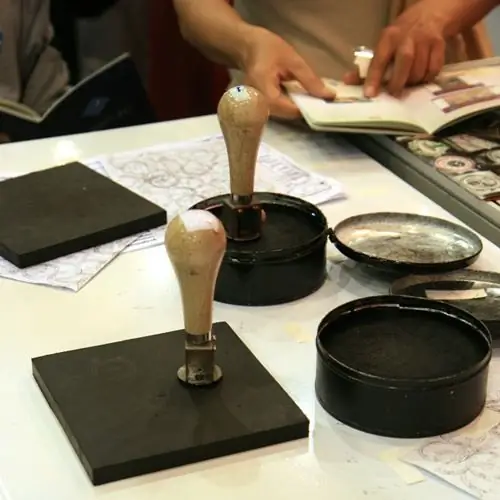
Every accountant, boss and other key figures in any enterprise should have their own seals. If you need to draw up a document, you also need to put a seal. It is required to approve something - again, you need to put a seal. Allow, Approve, Decline stamps are standard and therefore available for purchase. If you need custom printing, you can do it in two ways.

Instructions
Step 1
In any book and magazine publishing house or printing house, you should order a zinc cliche for all lowercase and uppercase letters of the Russian alphabet, numbers and punctuation marks at the zinc printing site. There, at the request, each of the letters, numbers and signs will be placed in small squares. This is necessary so that later you can easily cut the finished zinc cliche into components. Now, in the same area, you need to ask that the cliche be cut into squares along the lines marked in advance using a metal guillotine.
Step 2
Next, they type the required text from the resulting squares with signs and glue them together with the "Moment" glue. As soon as the resulting text dries, they print it onto plasticine. Around the obtained impression, a small side, 1-3 mm thick, is made and filled with ordinary sealant or K18 Vixind compound (silicone sealant). A tube sealant will not work for us, because it is too thick for this purpose. Although if you squeeze it into a jar, and then pour turpentine there and mix, then such a sealant can be used.
Step 3
After hardening of our sealant, the print text is easily separated from the plasticine and glued to a small plate-base for printing using "Moment". Then a pen is made. The print is ready.
Step 4
After making the seal, zinc squares with letters, numbers and signs are removed from the board with solvent 646, dried and folded into a box. When you need another seal, they come in handy.
Step 5
There is an easier way to make a seal. Make the desired drawing or inscription on a thin foil. Then with a finished pen or pencil, the drawing or inscription is carefully deepened by about 1-1.5 mm.
Step 6
Now the grooves are poured with epoxy glue or other strong putty and all this is dried for about 1-2 days at room temperature or close to room temperature.
Step 7
Then a plank of a suitable size is taken, the handle is glued to it "Moment". Then the text (or picture) is attached to the board with the same glue. When the seal is completely dry, you can use it. Instead of "Moment", you can use epoxy-based glue.


