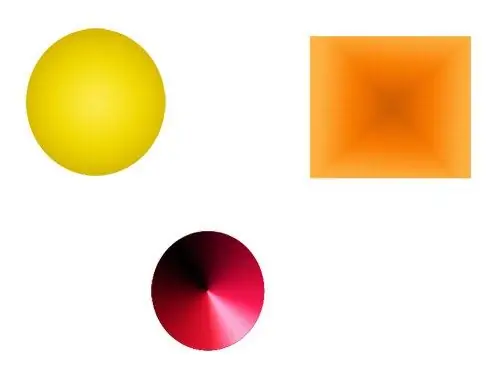
A gradient is a tool that fills a contour with a smooth transition from one color to another in graphic editors. A gradient can add a volumetric effect to a path, simulate lighting, highlights on the surface of a subject, or the effect of a sunset in the background of a photograph. This tool has a wide range of uses, so it is very important to learn how to use it for processing photos or creating illustrations.

It is necessary
Computer, graphic editor Adobe Photoshop, Corel Draw, Paint. Net or other
Instructions
Step 1
Open an image in the program or create a new one. Create a contour or select the desired area in the image.
Step 2
Turn on the Gradient Tool on the graphics editor toolbar. Place the mouse cursor on the point within the selection or path where the first color of the gradient will begin. Press and hold the left mouse button. Move the cursor to the point where the gradient should transition to the last color. Release the left mouse button. The selected path will fill the fill with a gradient.
Step 3
The gradient can be set to transparency, colors and their ratio at a certain point of the fill. To do this, open the gradient editing window. To open the editing window in Photoshop - click on the sample gradient in the "Options" panel.
Step 4
In the window that opens, the available options for the gradient fill are displayed in the form of examples. To edit one of the options, select it with a mouse click.
Step 5
At the bottom of the window, a gradient swatch is displayed as a wide scale with sliders. The sliders indicate the points at which the gradient should have the specified characteristics, and in the interval between the sliders, the color evenly passes from the specified at the first point to the color of the second point.
Step 6
The sliders at the top of the scale set the transparency of the gradient. To change the transparency, click on the desired slider. A field will appear under the scale, in which you can enter the desired degree of transparency in percent.
Step 7
The sliders at the bottom of the scale set the colors of the gradient. By clicking on one of them, you can select the desired color.
Step 8
A gradient can have multiple transition colors. To set one more color - click on the free space at the bottom of the scale. Another slider will appear on it. Set the color you want for it. The scale will display a gradient swatch with one more point. You can move the sliders by holding them with the left mouse button to achieve the desired combination.
Step 9
Gradients come in several types that can shape flat contours. For example, a radial gradient is used to shape a circle into a ball, and a cone to shape a cone. To give the surface the illusion of a bulge, you can use a specular gradient, and a diamond-shaped gradient can be used to create highlights.


