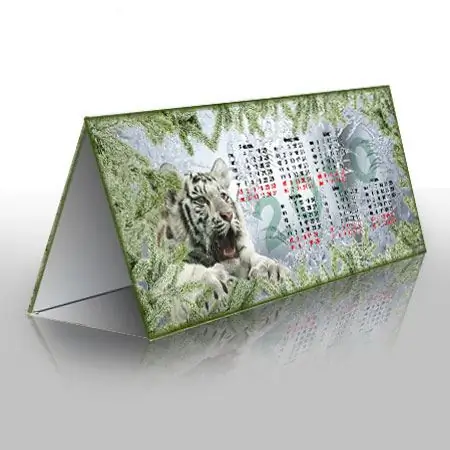
The calendar is a very useful thing. On it you can mark the dates you want, take notes. And it's just convenient when such a reminder is always in front of your eyes. Of course, buying a calendar is easy, but spending a little time and creating an original and stylish thing yourself is much better.

Instructions
Step 1
To make your desk calendar truly exclusive, create a layout for it yourself. It can be a favorite painting, photo, collage. Start Photoshop, open a new document, set the paper size to A4 (or larger, depending on what size calendar you plan to make) and a resolution of at least 300 pixels per inch. Start the ruler and mark the lines that will constrain the image. As a result, you should get a sheet, divided into four parts horizontally. Make the top and bottom a little smaller.
Step 2
Leave the first and last quarters empty, this will be the bottom of the calendar. Draw a pattern on the two middle parts. These will be the sides. Make them different, then your calendar will be more attractive. Be sure to make a beautiful background, place an image on it (you will need to cut it out from another picture). Don't forget to leave space for the calendar grid. When you take the image on the second from the top of the sheet, do not forget to flip it twice 90 degrees.
Step 3
If your calendar is small, place a six month grid on each side. If your calendar is larger than A4, you can make a whole year calendar grid on each side, or place it on only one side, and leave the other with only a picture. As a result, you should have 2 images in the middle of the sheet, one of them turned upside down (calendar grid too).
Step 4
Take thick (glossy or colored) paper, print the image. If you do not have a printer, order printing from your nearest photo shop. Fold the sheet well along horizontal lines to create a flat, stable house. The top and bottom will be the bottom of the calendar. Secure them with glue or a stapler. The desk calendar is ready.


