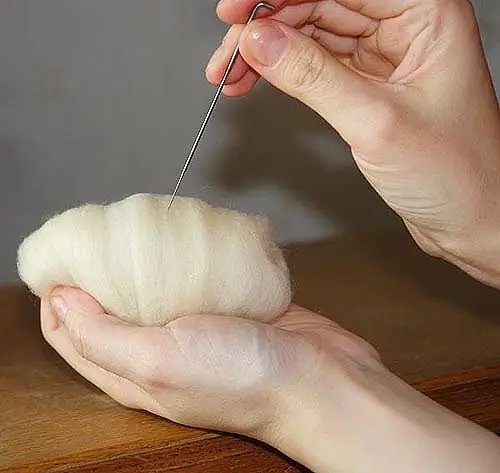
Felting or felting is a hobby that is becoming more and more popular among modern needlewomen. Having mastered the felting technique, you can easily make beautiful beads, a handbag, a brooch, a toy and much more. There are different felting techniques, the simplest of which can be called the dry felting technique - it is with it that you should start learning this type of needlework. You can easily master it by making a simple children's toy - a felted mouse.

It is necessary
- - wool;
- - needles;
- - foam sponge;
- - synthetic winterizer;
- - beads.
Instructions
Step 1
Prepare the desired color of yarn, needles for felting, a foam sponge, synthetic winterizer and small black beads. Make the basic shape of the mouse from padding polyester to save material - take a lump of padding polyester and form from it the oblong outlines of the future body of the mouse.
Step 2
Use a large felting needle to process the padding polyester to form a tight ball. Place a thick foam sponge under the garment to protect your fingers from needle sticks. Hold the needle perpendicular to the surface of the future mouse body, and place the workpiece on a flat surface.
Step 3
Start wrapping the padding polyester uniform with strands of wool for felting. Lay the wool on the mold in several layers, with the wool fibers perpendicular to each other. When the synthetic winterizer is not visible from under the layers of wool, begin to carefully pierce the workpiece with a large felting needle, processing it until the wool felts and the toy becomes dense.
Step 4
When the woolen fibers stop separating from the overall figure, the felting can be completed. Set the large needle aside, take the small needle and refine the shape of the figure to make the surface smoother and smoother. Determine where the neck of the mouse will be and fill in the groove in this place.
Step 5
Make a groove from the holes with a needle in one line, and then, lift up the mouse's face and shape it with a needle. After that, separate the ears and tail of the mouse, and then weld them to the body with a needle.
Step 6
Make the front and hind legs of the mouse from separate pieces of wool. Make small indentations in the body and weld new parts to it again. Having completely assembled the mouse from the parts, check if they are securely attached to each other, and then sew on the eyes and nose from shiny black beads.


