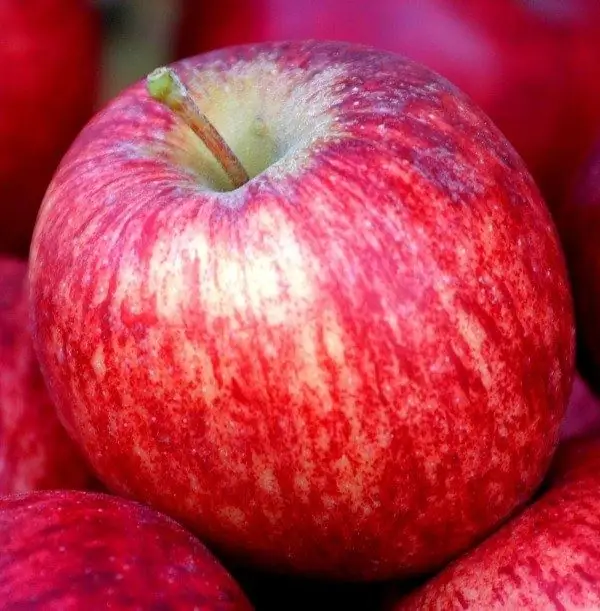
Fruits painted with watercolors look very natural. In order to make the apple look more believable, use knowledge about light and shadow in the drawing.

Instructions
Step 1
Draw the outline of the apple with a pencil. Do not try to draw the outline in one line, first sketch in small strokes. If you are drawing from life, reflect in the sketch the peculiarities of the shape of a particular fruit - whether it is elongated or flatter, whether it has bulges in the lower part. Draw a stalk and a leaf, if any. If you are not drawing any particular apple, then use your imagination. You can depict a fruit lying on its side or standing, cut or bitten. Remove excess pencil lines so they don't show through the transparent watercolor.
Step 2
Determine where the light is falling on the apple, this is important for applying watercolors to the drawing. Paint the entire surface of the drawn fruit with the lightest shade that is present on the skin of the apple. This will be the color of the highlight on the fruit's surface.
Step 3
Mix the lightest paint with a darker one. Apply broad strokes to the drawing. Don't paint over a small area where the light is directed. In the same way, apply even darker paint to the parts of the apple that are further from this place. There can be up to 4-5 such layers.
Step 4
Remember that in natural light, the shadow on a subject has a warm cast. Use brown and green colors for the desired color. Under artificial light, the shade is cold. Mix the color that matches the apple with blue.
Step 5
Apply streaks, specks to the surface of the apple with light paint. Color the stalk, leaf. If the apple is cut, paint its flesh with transparent paint, reflect the change in shade from the core to the edge. Use a thin line to draw a slice of the skin.
Step 6
Draw a shadow under the apple on the surface where it lies. Match the size of the shadow to the size of the fruit, it depends on where the light is coming from.


