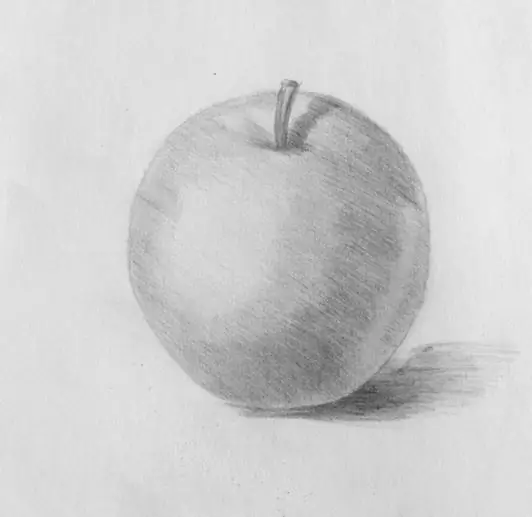
The ability to draw beautifully is not given to everyone, but, as you know, you can learn any business. If you decide to pick up a pencil - do not be afraid to experiment. To draw, say, an apple, you do not need to have any superpowers, it is enough to have a desire and a little free time. It is not necessary for the apple to be a clear, regular shape, it can be anything. Step by step instructions will help you draw a beautiful apple.

Instructions
Step 1
Pick an apple. Carefully study your sitter, inspect all the bends, depressions, bumps.
Step 2
Place it on a flat surface and direct the light onto it, a regular lamp will do for this. Now that the mini-staging is ready, start drawing.
Step 3
Draw the outline of the apple with small, slightly noticeable strokes, do not press hard on the pencil. Experts advise starting the drawing from the top point of the apple, gradually going down. While drawing the contour, carefully look at the apple, do not forget about the bulges and concavities.
Step 4
When the outline is ready, you have returned to the point from which you started your drawing, proceed to the next step.
Step 5
Mark the stem on top of the apple. Define the surrounding depression by drawing a semicircle below the stem. Add a couple of slanted lines on the other side of the dimple to help make your apple look more voluminous.
Step 6
Start shading your apple. Draw strokes in one direction, parallel to the outline of the apple itself. Try to keep your strokes light but long. Start shading from the shadow side of the apple, gradually approaching a lighter tone. Leave the part of the apple on which the light falls not shaded.
Step 7
Shade the surface of the apple near the cavity. Apply semicircular strokes under the stem. Remember that it is the shading that gives the subject volume. Try to repeat the shape of the apple with strokes.
Step 8
Darken the shaded side of the apple. To make the transition from light to shadow smooth, use your finger or a piece of paper, rubbing such places in the drawing with them. Add highlights to the apple by erasing a few strokes with an eraser.
Step 9
Look closely at the surface the apple is on. Mark a shadow from it, shade it with a tone slightly lighter than the apple itself. The drawing is ready!


