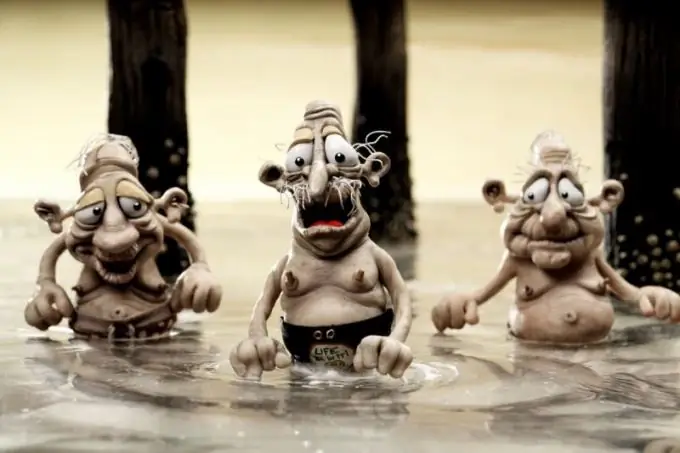
If you have a digital camera, plasticine and a lot of patience, you can make your own plasticine cartoon. It is not necessary to immediately tackle a complex plot and create a masterpiece - start with a small simple cartoon, try it and, perhaps, it will become your hobby for a long time.

It is necessary
- - digital camera;
- - colored plasticine;
- - light source;
- - computer and editing software.
Instructions
Step 1
Come up with a plot for your cartoon. It can be a simple scene, several minutes long, but in any case, try to make the cartoon carry some kind of complete idea, thought.
Step 2
Buy plasticine for cartoon characters and decorations. When buying, keep in mind that the pack will almost certainly contain little of the desired color, and a lot of unnecessary ones. In addition, plasticine will constantly mix with each other and lose color, so stock up on consumables for future use. For heroes, take an elastic and not too soft plasticine, preferably not crumbling.
Step 3
Sculpt plasticine characters (for men or animals, you can first make a wire frame). Prepare the decorations, for this, print the background on a sheet of paper, if possible - stick it on top with a thin layer of plasticine of the appropriate color. When shooting from multiple angles, you can prepare two or three different backgrounds.
Step 4
If the resulting characters are not very stable, make a cartoon on glass. To do this, place the camera under the glass, and fix the background on top. The figurines will lie on the glass and will not fall.
Step 5
Take care of the light source, it could be a table lamp or a small spotlight. Mount the camera so as to completely exclude the possibility of shifting - using a tripod or other means. The best option is a camera with a shutter release button on the wire.
Step 6
Set objects and characters to their original position and manually adjust focus, contrast and other shooting parameters (manually - so that automatic settings do not change from frame to frame). Take the first shot.
Step 7
Move the hero a little and take a picture of him again. In one second, the video should be 5-24 frames; the accuracy and smoothness of the movement will depend on the number. When your character becomes unusable from constant folds - tweak and re-sprinkle it, then start shooting from a different angle.
Step 8
After all the frames have been removed, start editing the plasticine cartoon. Transfer photos to your computer. Open a video editing software like sony vegas. Add all frames to the timeline, set them in the desired order (some programs set them automatically, by name).
Step 9
Apply the necessary effects, for example, make a black and white plasticine cartoon. Add sounds by dragging them with the cursor to the timeline and aligning them with the video. Sounds can be taken ready-made or recorded by yourself using a microphone. Convert the resulting work into video format and enjoy watching.


