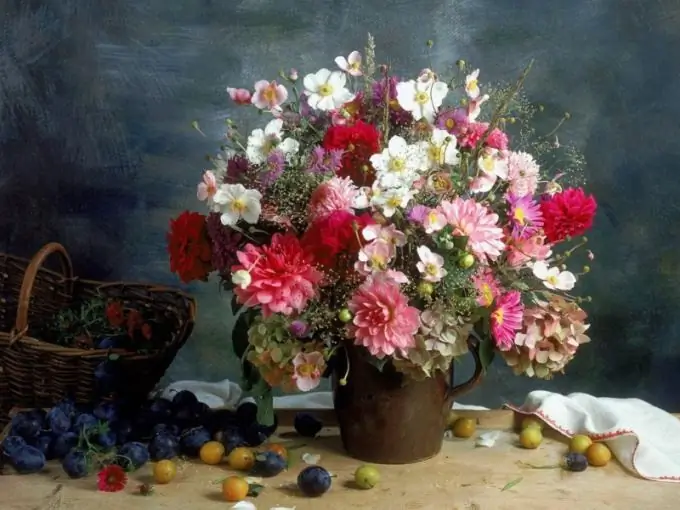
Creative individuals often want to master many skills that would express their feelings. Musicians begin to paint, and artists write beautiful poems. It's never too late to learn, and adult parents can start studying with their children, if there is a desire.

It is necessary
- - paper;
- - the pencils;
- - eraser;
- - various items to create a composition.
Instructions
Step 1
You need to choose a time for your daily activities to really learn how to paint beautifully. You will also need reference guides and tutorials or an experienced artist mentor. Do not rely on your talent and genius, without training and classes, it is difficult to master the skill of drawing.
Step 2
Many classic drawing tutorials suggest that you take plaster figures, skulls, and capitals as a model. But practically no one has these items at home, and it makes little sense to copy illustrations from the pages of a book. In this case, you need to paint still lifes. These lessons will develop your skills: hand firmness, eye, constructive thinking, intuition and taste.
Step 3
Create a plan for each lesson so you can see the lesson summary. Be sure to solve a specific problem, act from simple to complex. To begin with, take a linear still life, which is performed without tones, with only strokes. Draw objects of complex pretentious shapes, try to make the correct contour, without being distracted by chiaroscuro.
Step 4
Place several objects so that they partially cover each other's parts. Strive for a nice overall outline. This will be your first lesson.
Step 5
Try to make a very interesting and decorative constructive drawing. To do this, imagine that all objects are made of flexible copper wire, that you can see right through them. Think out the details that are covered by the front objects, because the "wire" gizmos are transparent.
Step 6
Learn to see beauty in simple and ordinary things - kitchen utensils, vegetables and fruits, books, random objects. Collect interesting original compositions. Practice hatching and drawing.
Step 7
Gradually include more difficult things to draw in your still lifes - draperies, curtains, a crumpled towel. Draw objects that have different textures: clay bowls and pots, wooden boards and frames, metal cutlery, glassware.
Step 8
Play with space. Place items at different depths. Push a large earthenware jug into the depths, put several different fruits next to it. Put other dishes a little closer and any other objects that you consider necessary for the drawing. Portray what is in the foreground clear and contrasting, while those that are farther will look “smoky”.
Step 9
The mirror looks very interesting and mysterious in the drawing. You can put it in the background and depict vague objects of a still life in its reflection. It is important to remember that "mirroring" is quite difficult, because distant objects in the reflection will be brighter, as they stand closer to the mirror surface.
Step 10
Overcome thorns to reach the stars. Step by step, lesson by lesson, you will acquire skills and hone your craft. Drawings will be better and more harmonious and, of course, more beautiful.


