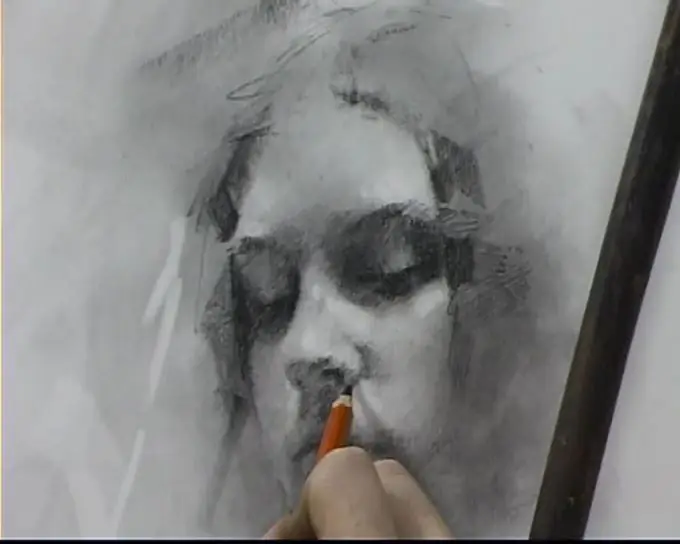
A portrait is a work of fine art that contains an image of a person. It can be reproduced from nature or drawn from a photograph. However, in both cases, novice artists at the initial stage of work often face many difficulties.

It is necessary
- - canvas;
- - pencil;
- - eraser;
- - paints and brushes.
Instructions
Step 1
Prepare all the necessary materials for creating a portrait: stretch the canvas, sharpen the pencils, take out paints and brushes. Do not forget about the eraser, just do not rush to use it: it "removes" the top layer of paper, thereby thinning the sheet.
Step 2
Pay attention to the proportions of the person and try to accurately transfer them to the canvas. Mark the location of the head, fix the direction of the torso, mark the length of the arms and legs, if you are drawing a person at full height. It is recommended to start drawing the body not with its outlines, but with sketches of the "skeleton" - simple straight lines indicating different parts of the body (back, shoulder girdle, thigh, lower leg, shoulder, forearm, wrist, foot, neck).
Step 3
Check the proportions of the original image. If they are met, then give the body a shape. Do not focus on the little things, since they are not important at the initial stage of drawing. Return to them only after drawing the head in detail.
Step 4
For every portrait painter, the face is the most important area, the elaboration of which determines the perception of the picture as a whole. If the head is in the frontal position, then first, with a slight movement, draw one vertical line in the middle, then several horizontal ones, indicating the level of the eyes, eyebrows, and mouth.
Always remember the correct proportions. Aspiring artists often make the same mistake: leaving too little forehead space. As a result, the face is very far from ideal. To avoid this, draw the first horizontal line in the middle: it will indicate the level of the eyes. Start from it when applying the rest of the markup. The ear should start between the eyebrow and the outer corner of the eye and end just below the wings of the nose. Naturally, if the head is tilted, the proportions will be somewhat different.
Step 5
When the sketch is ready, you can proceed to the next step - a detailed drawing of the portrait.


