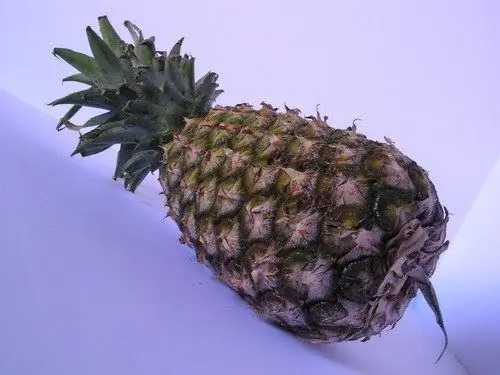
The beauty and convenience of drawing a fruit like pineapple is that there are no definite rules. And the proportions and rather free flowing lines of this exotic fruit allow even a child to cope with such a task.

It is necessary
A sheet of paper, a soft pencil, paints and brushes
Instructions
Step 1
Determine in which part of the paper canvas the image will be placed. In order for the drawing to look harmonious later, take into account the ratio of the size of the future pineapple to the size of a sheet of paper. A pineapple that is too small, painted in the corner, will look out of place. Therefore, first of all, you should designate the center of the sheet.
Step 2
Contour the exotic fruit without leaves. It should be an oval. If you want to give your picture the most realistic look, then you should pay attention that the sides of the oval should not be perfectly even. The top of the oval should be slightly narrower than its base, which looks slightly flattened from below.
Step 3
Draw the outline of the pineapple diagonally with uneven, slightly concave arcs that should form diamonds. As a result, you will get an image that resembles pineapple scales.
Step 4
Start drawing the leaves. Keep in mind that the more asymmetric the leaves are in relation to each other, the more natural the drawing will look. Each pineapple leaf is an oblong triangle with a curved top. The structure of the deciduous part of a pineapple in some way resembles the structure of a spruce. Draw each leaf one by one so that their bases overlap each other. Draw the leaves not only along the top outline of the pineapple, but also slightly below, filling in the upper part of the oval.
Step 5
Draw in each rhombus, in the uppermost corner along a thorn in the form of a sharp triangle without a base and with uneven sides.
Step 6
Color the finished image with colored paints.


