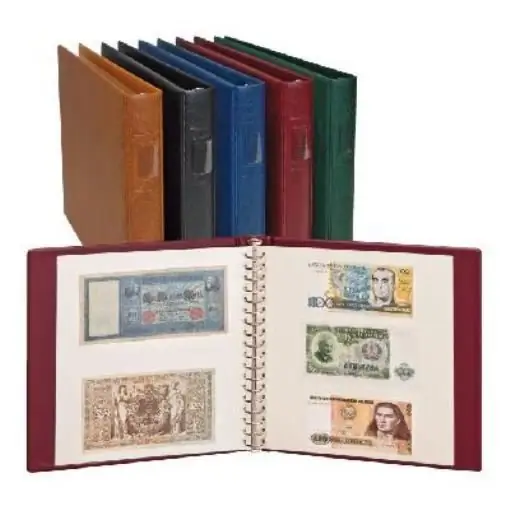
Bonistics is a rather developed type of collecting in the world. But, like all collectors, banknote collectors need special accessories for their hobby. First of all, these are albums for storing banknotes. Of course, you can buy them in the store, but it's much more interesting to make such an album with your own hands.

From the file folder
The easiest way to make an album for storing bills is to use a file folder. These folders are sold at any office supply store. The plastic folder already contains transparent files embedded or pasted into it.
In order to turn such a folder into an album for storing bills, you need a soldering iron. Divide each file into two or 4 parts. Draw thin lines with a soldering iron, i.e. solder the file in the marked places.
When dividing the file in two parts, the banknote storage compartments are already ready. If you divide the file into 2 parts in width or into 4 parts, then you will have to cut holes in order to insert bills into the compartments. In the first case, it is better to make the incision from the side, and in the second, from the bottom.
You can leave the folder as it is, or you can decorate it in an accessible and convenient way for you - glue it over with colored paper, sheathe it with fabric, or even just buy a cover for it. Such an album will allow you to admire the banknotes from both sides without taking them out. Instead of a folder with already embedded files, you can use a binder folder and transparent files.
From files and cardboard
To make an album from cardboard and files, you will need transparent file folders, sheets of cardboard of the same format and a soldering iron or sewing machine. Mark out the cardboard. Attach the file to the cardboard. Since the file is transparent, the markup will be perfectly visible. Run a soldering iron or stitch on the marked lines, this way you will solder / sew the file to the cardboard.
You can put a sheet of cardboard marked on both sides into the file and run it with a soldering iron / flash from both sides. Make cuts where necessary to insert banknotes. Then collect the finished sheets of your album for notes in a folder or stitch. You can also decorate the album cover in any way you like. The disadvantage of such a note album is that the note will only be visible from one side.
Made of cardboard
To make an album for banknotes out of cardboard, you need cardboard, scissors or a utility knife. Mark the piece of cardboard to fit the size of the banknotes. Make a diagonal cut at each corner. The corners of the bill will need to be inserted into these cuts.
Properly prepared sheets of cardboard will need to be collected in a folder or stitched. If you make a rectangular hole between the cuts for the corners, then part of the bill will be visible on the other side of the cardboard sheet. The disadvantage of such an album is that the corners of the banknotes will be slightly bent.


