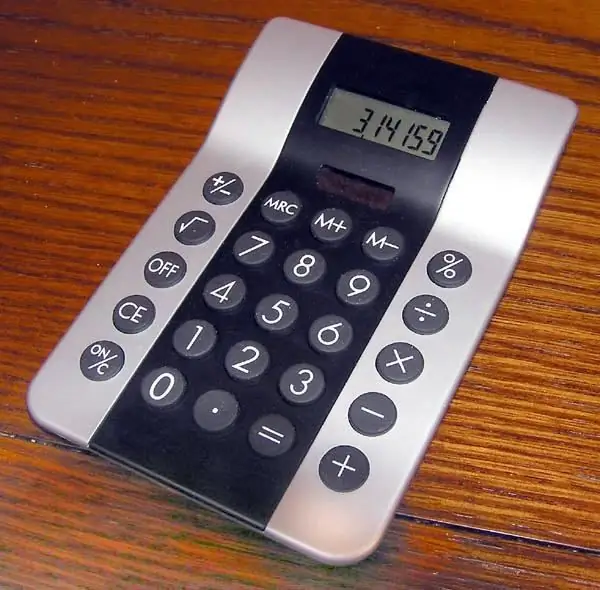
There are many devices equipped with LCD screens without backlighting. It is inconvenient to use them in the twilight, and in the dark it is completely impossible. You can fix this drawback by adding the backlight yourself.

Instructions
Step 1
Turn off the power to the device. Remove the batteries from it (devices without backlighting are usually powered by them, and not from rechargeable batteries). In this case, you will have to come to terms with the possible loss of data, or make a backup copy in advance, before removing the batteries.
Step 2
Be sure to make sure that the batteries have enough capacity to keep the backlight working for an extended period. If not, install an additional compartment to house the backlight batteries (including outside).
Step 3
If the device uses a collapsible LCD indicator, which is pressed to the board through rubber contact combs, evenly unscrew all fastening screws and remove the LCD. Peel off the silver backing. Reassemble everything exactly as it was, without forgetting a single detail, including the contact combs. During the assembly process, place a thin plexiglass plate between the board and the indicator, covered on both sides with a thin layer of white paint that allows light to pass through. After assembly, this plate should move freely under the indicator without exerting the slightest pressure on it. Tighten the screws evenly during assembly.
Step 4
Then take two SMD LEDs of the desired color. Glue them to the end of the plate from the side to which you have access. In series with each of them, turn on such a resistor so that at the voltage with which they will be supplied, the current through each of them does not exceed 3 mA. The wires must be very flexible. Connect these strings in parallel and connect to the power supply in the correct polarity through the power switch of the device, or the latter is powered directly from the batteries through a separate pre-installed miniature switch. If the backlight is powered by separate batteries, it will need its own source in any case.
Step 5
In a situation where a non-separable indicator is used in the device, proceed in a different way. Place two SMD LEDs connected in the same way outside. Cover them with a small opaque screen that does not transmit light forward, and direct the diodes themselves to the indicator so that they illuminate it sufficiently evenly. In this position, fix them.
Step 6
Replace the batteries. Install additional lighting elements if necessary. Re-enter the data: if it is a clock, then the time and date, if it is a programmable calculator, then programs and variables, and if it is an electronic notebook - names and phone numbers.


