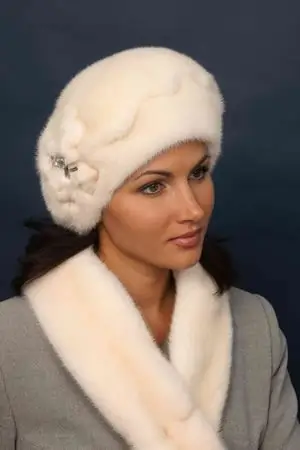
Beautiful headdresses adorn the image of a woman. A well-chosen fur beret can highlight your strengths and hide flaws. Berets have always been and remain in fashion. The most interesting are fur berets. And such berets do not have to be bought, since you can make them yourself.

It is necessary
- - fur skins;
- - base-block;
- - lining fabric;
- - sewing accessories.
Instructions
Step 1
First, choose the material you like. To do this, you need to choose the right skins and choose the fur. The inner pieces should all be smaller than the outer pieces so that when stitching, the seam dimensions can compensate for this difference. Before stitching part of the pattern, make notes on which you will do this.
Step 2
To make the beret look finished and keep its shape, perform it on a lining. First, take a base cap (made of felt or batting), then moisten it and stuff it on the block, then put it to dry. Then slightly moisturize and stretch the skin. Positioning on the last, draw the place of the back seam with a pen along the flesh. The direction of the hair goes around the head. If the length of the skin is not enough to wrap a whole last, then insert a ponytail into the seam.
Step 3
A male usually goes to a mink beret, since he is larger. Cut exactly the seam and sew, then moisten well again. Let it lie down, then pull it over the block, fasten it with nails along the bottom. If the width of the skin is not enough to pull up well, then before the process of stuffing along the length of the skin, sew on any strip of fabric for which you can pull the skin down. Then dry again and remove from the last, remove the bottom, at the end sew on the size tape, as well as the lining.


