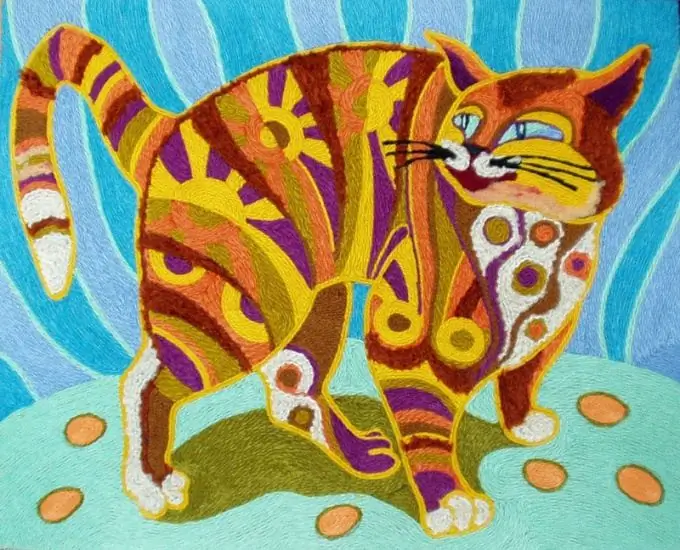
Thread printing is the art of creating pictures from threads. The technique bears some resemblance to drawing with felt-tip pens, only the lines are not drawn, but pasted. Glue, scissors and colored threads are all that is required to create a masterpiece that can complement the interior and become a source of pride.

The technique of creating thread pictures
Thread patterns can be created with glue and non-glue methods. To implement the first method, on a sheet of thick cardboard or fiberboard, apply a drawing of the future picture, carefully working out the details. When choosing threads, pay attention to the fact that they must have the same thickness, it can be floss, acrylic or knitting yarn. If you are just learning the basics of nitkography, give up "curly" and shaggy threads, since they are extremely difficult to work with.
After completing some simple preparations, arm yourself with scissors, glue and a toothpick. Glue a line on the cardboard, use a toothpick in hard-to-reach places. Glue the thread immediately and press down with your fingers. After bringing the thread to the point where a color change or twist is required, cut off the end with scissors.
Perform the work starting from the outline of the main drawing, gradually moving towards the center and finer details. The quality and attractiveness of the picture depends on the density of the gluing of the threads. If the glued threads do not seem to match the color, replace them. To do this, use a razor or a clerical knife to cut the threads along with the top layer of cardboard, and glue others to the formed gap.
When working on the edge of the painting, do not cut each thread separately. Bring them off the edge of the image and then crop them all at once. In addition, the edge of the picture can be successfully masked with a frame. After the glue has completely dried, steam the picture with an iron, such a simple manipulation will allow the image to look smoother.
Of thread and nails
The weaving method is more often used in the design of phrases and ornaments. In a convenient editor select the style and size of the caption. Print out the letters and connect them together with tape. Place the template on the base (cardboard, chipboard). For safety, do not lay the base directly on a table or floor, there is a high chance that you will hit the surface when driving in nails.
Drive small nails along the outline of the template at an equal distance from each other. When you're done, remove the template. To make such a picture, it is better to choose yarn or floss. Fasten the end of the skein under the head of the nail and guide the thread to the opposite nail. The order of the weaves is not important, the main thing is that the process brings you pleasure. When switching to another color, tie the thread with a small knot under the hat. You can achieve a smooth transition by overlapping one color with another.


