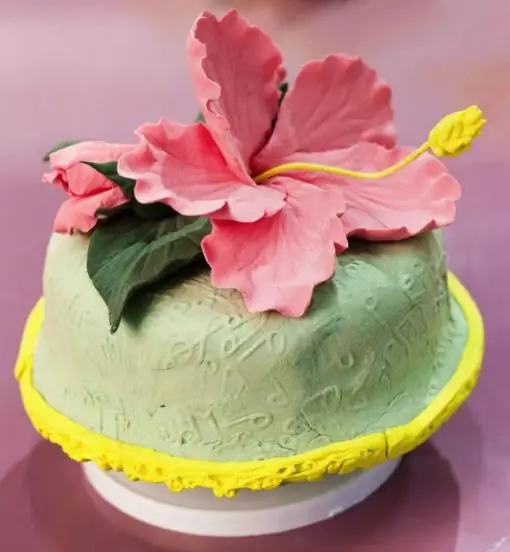
An exquisite musical toy, decorated with a beautiful blossoming flower, will become an irreplaceable assistant for pacifying thoughts and feelings.

It is necessary
- - musical toy;
- - glue;
- - scissors;
- - musical toy;
- - Silicone molds;
- - mold (elastic mold for modeling);
- - Decoday polymer clay (yellow, green, blue, red);
- - plastic roller for creating a textured surface (musical notes);
Instructions
Step 1
First you need to get the required shade of polymer clay. To do this, take yellow clay and a small bean-sized piece of green. Mix two pieces of clay until smooth. As a result, you should get a delicate pistachio shade.

Step 2
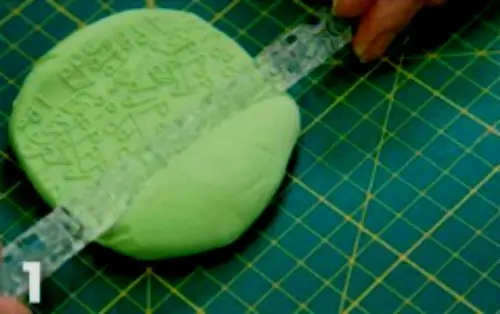
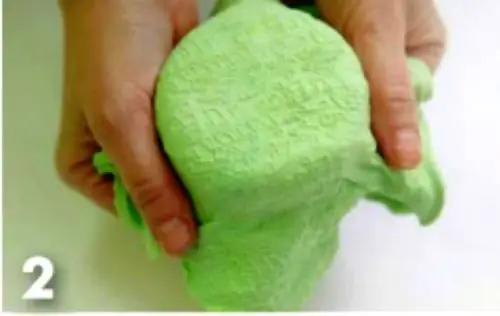
Roll the clay into a layer, then make a textured surface using a special roller. Cover the top of the musical toy with the resulting piece, removing excess clay.

Step 3
Twist a thin sausage from a piece of yellow clay. Place it in a silicone mold so that it takes on the desired texture. Glue the resulting border to the toy with plastic glue or PVA.

Step 4
Make a stamen. Roll a small "drop" in the palms of yellow clay. Place it on the wire and cut it from above, abruptly with scissors, form a shape similar to a bump.

Step 5
Blind the petals after mixing the clay to get the desired pale pink shade. Add texture to the petals using a special mold. When placing the petal on the mold, lightly press down with your fingers to create a wavy edge of the petal. Thus, do with all the petals.

Step 6
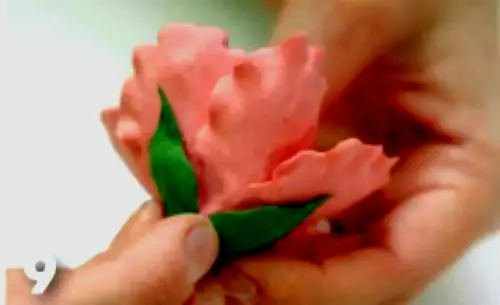
Prepare oblong leaves from green clay. Make a flower, forming it from petals, add leaves. If the clay is dry, use glue to attach the petals.

Step 7
Glue the flower bud to the musical toy. Carefully insert the stamen into the flower, securing it with glue. Let dry.


