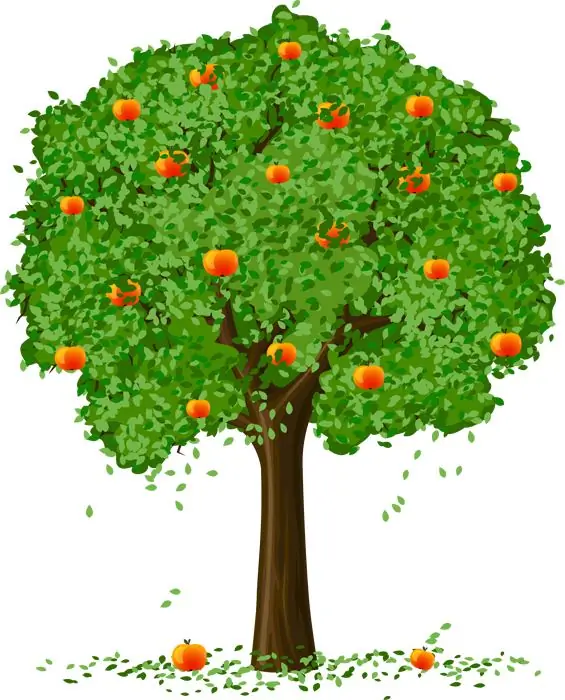
Natural landscapes and plant motifs have long fascinated artists, architects and representatives of other types of decorative and applied arts. If you are learning to draw or are already drawing, you definitely need to learn how to draw realistic plants - this will allow you to understand the shape and texture of the nature around you and convey this shape on paper, improving your drawing skills.

Instructions
Step 1
You can start by drawing whole trees as well as drawing individual leaves. Beginning to draw the tree, sketch out the outlines of its general shape. Consider the shapes of the empty spaces in the foliage of the tree and transfer them on paper, and around them draw the main silhouette of the plant. Separate the lighter and darker areas with pencil shading. Leave the light areas white.
Step 2
Determine exactly where the trunk shadow falls and where the light source is. Strongly darken the place where the shadow falls, and also fill in the shaded fragment of the trunk with dark shading. Use warmer shades to paint the area of the trunk close to the roots of the tree.
Step 3
If you are drawing several trees at once, make sure that all of your trees are different - in reality there are no exactly the same plants. Therefore, your trees in the picture should be different from each other. This will make the work livelier and more realistic.
Step 4
When painting the leaves and crown of the tree, lighten the foreground to make the tree look deeper and more voluminous. Show in the picture the unevenness and roughness of the bark of the tree and its natural curves.
Step 5
If you are drawing a separate sheet, draw its general pencil outlines first. Then, on top of the thin lines of the sketch, paint the leaf with a diluted light green watercolor with a soft brush. Try to cover the sheet with tinted water spontaneously, without achieving a uniform background. Create beautiful color transitions from lighter to more saturated. Dry the drawing.
Step 6
Cover the dried sheet with a layer of diluted watercolor of a different color, which should merge beautifully with the previous layer and emphasize it. Translucent watercolor will create the effect of airiness and naturalness. Leave the veins of the sheet unpainted - it will look more voluminous.


