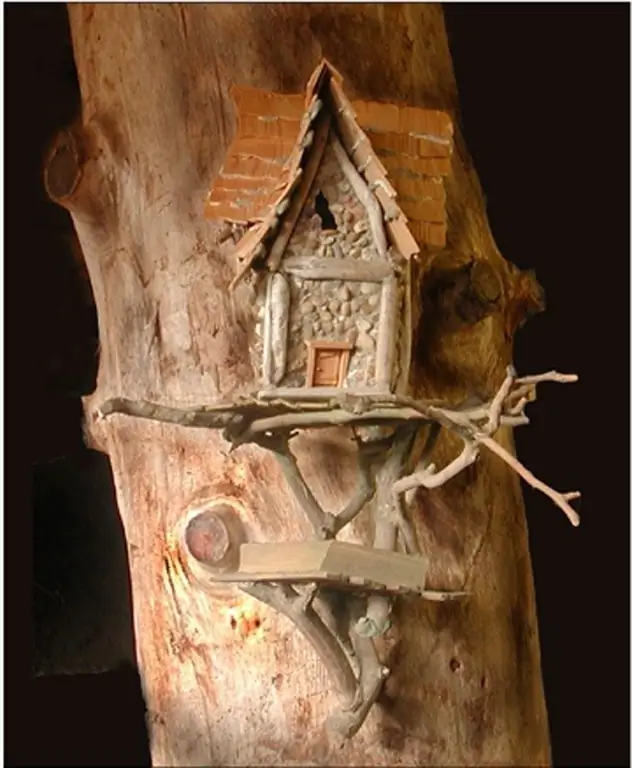
The bird feeder often looks like a real house. And what could be easier to come up with and draw a beautiful little house for our smaller brothers! Moreover, this drawing can prompt you to make a feeder with your own hands.

It is necessary
A sheet of paper, a simple pencil, an eraser, material for working in color
Instructions
Step 1
Prepare the materials you need for the job. Imagine what kind of feeder you would like to see. It can be rectangular or round, or in the form of a Russian house or a multi-tiered shelf. Place the sheet of paper vertically or horizontally, depending on your drawing. With a simple pencil, start sketching.
Step 2
If your feeder has a rectangular shape, then you can draw it both in perspective and frontally (on one side). The first option will look a little more complicated and more interesting, the second will be easier. If you are drawing in perspective, do not forget that all lines in the plane should strive to meet each other on the horizon line. Start at the bottom. The shape of the base can be very diverse, it all depends on your imagination. The rectangular base will look like a rhombus in perspective, the round base will look like an oval.
Step 3
Next, "erect" the walls of the trough. They may not be there (but in this case, the food can be blown away by the wind and covered with snow). After the walls, come up with and draw a roof. It can be either flat or sloping - at your discretion. Then come up with a design for the feeder. You can decorate it with carvings or some kind of painting. Or put twisted plants on it.
Step 4
To liven up your drawing, draw two or three birds sitting in the feeder and flying around it. Attach the feeder to the tree. It can be suspended from a branch or tied to a tree trunk on one side (this position is more stable for feeders). Use the eraser to remove any unnecessary lines. Start drawing in color or leave it in pencil.
Step 5
For color drawing, use watercolors, colored pencils, and felt-tip pens. Start filling with the background, in this case the sky. Then outline the main color spots in the picture, and then work on them taking into account the location of the light and shadow. After working with paints or crayons, stroke with felt-tip pens to make your drawing brighter and clearer.


