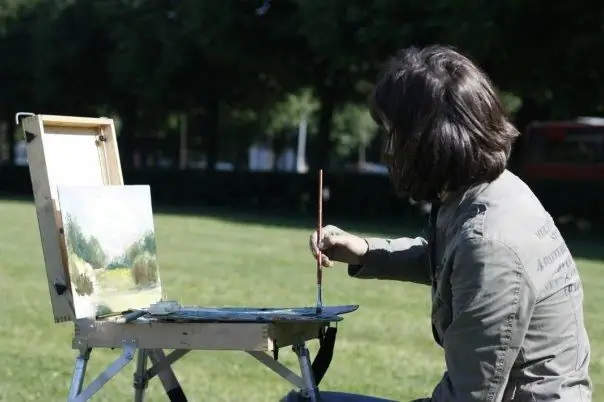
A light landscape does not imply intricate detail. Usually, it is understood as a piece of nature, and not city streets with an ensemble of architectural forms, which may take a long time to draw.

It is necessary
- - a simple pencil;
- - eraser;
- - brush;
- - paints (gouache or watercolor).
Instructions
Step 1
Select the plan you want to draw on a piece of paper. You can take a finished picture as a basis or just imagine it. Try to avoid the accumulation of several elements of the picture in one place. For example, it is best to stay in an open field, over which mountains are observed, and in the foreground there is a tree or any other plant.
Step 2
Place the sheet vertically. Thus, during viewing, the viewer's attention is focused on near details, rather than being sprayed in a horizontal direction. In addition, it usually takes less time to create such a picture, but much depends on the final idea of the artist.
Step 3
Draw a horizon line with a simple pencil. It is desirable that it is just below the middle of the sheet. You should not paint it high: the sky is one of the most expressive details that allows you to convey the mood of the whole picture. Leaving little space for it, you thereby deprive yourself of the opportunity to show all the beauty of nature.
Step 4
Indicate the most important elements: the mountain slopes in the background, the sun and clouds, the trunk of the tree, the direction of its branches. You should not go into the drawing of small details - it is much more convenient to do this with the help of paints. This pattern will look natural.
Step 5
Take a brush, dip it in gouache and start applying strokes. The sky is always drawn first. When choosing a color, do not dwell on traditional blue shades, play with paints. There can be a lot of options: from pink and red to yellow and purple.
Step 6
Move smoothly to the mountains. Never use one color for painting - use at least 2-3. This will allow you to make the drawing more voluminous and realistic.
Step 7
Wait for the background to dry, and then go to the close angle. Draw a clearing first, and then a tree.
Step 8
Start depicting the plant from the trunk. In order not to be mistaken in the dimensions, proceed carefully: draw a thin line with a brush, and then gradually add volume to the desired thickness. Do not forget about shadows: the place on the sunny side should be brighter.
Step 9
Move on to the leaves. Take enough paint, but no frills, put the brush at a point, and then draw a short line, bending it a little while doing this. The sheet will take on an interesting shape and look natural.
Step 10
Complement the landscape with other elements of your choice. Do not be afraid of mistakes, the perfect picture may not work the first time, but the constant practice of drawing landscapes will allow you to reduce the likelihood of their appearance in the future to a minimum.


