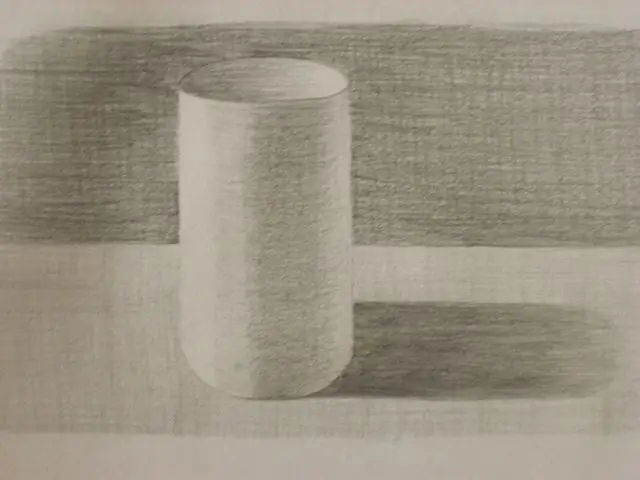
In art schools, geometric shapes are often drawn, so that later it would be easier to create ordinary household items. Because they are all drawn from basic volumetric bodies. Drawing a cylinder is easy.

It is necessary
sheet of paper, pencil, eraser
Instructions
Step 1
Place the sheet of paper vertically. With a simple pencil, start sketching. Draw a vertical line. At the top and bottom, limit it with a horizontal line. Check that the distance from one end of the horizontal line to the center is equal to the distance from the other end. Use a pencil to measure. Using it, first measure one distance from the edge to the middle, then set aside this distance from the center to the other edge and make a serif with a pencil. Also check the bottom horizontal line.
Step 2
Mark the boundaries of the bottom and top base. To do this, from the center of the base, make serifs on line (a). The width of the lower base (c) is slightly larger than the upper one (b) - here the law of perspective applies.
Step 3
Draw the top and bottom base at four points, in the form of two ovals. If the line turns out to be uneven, do not rush to erase it with an eraser, make a cascade of light strokes, achieving accuracy, only then correct it with an eraser.
Step 4
Now you need to add volume to the cylinder by hatching. To begin with, indicate with dividing stripes where you will have light, shadow and partial shade. Notice the order in which they are distributed on the figure. Apply a trial, first shading. The line of light (see picture) is surrounded by penumbra lines. The top of the cylinder is left light - the light zone.
Step 5
Make shading. It is best to do it according to the shape of the figure, with rounded strokes. The transitions from light to penumbra and shadow are not obvious, these are smooth transitions. To achieve this effect, you can use the force of pressure on the pencil and shading with a piece of eraser. Use the eraser to select a vertical highlight on the light zone. Shade the background. To make the cylinder look good, make the background in the area of the light zone darker. Draw a horizontal line of the plane behind the cylinder. The vertical plane is often darker than the horizontal one. It all depends on the light source. The cylinder is ready.


