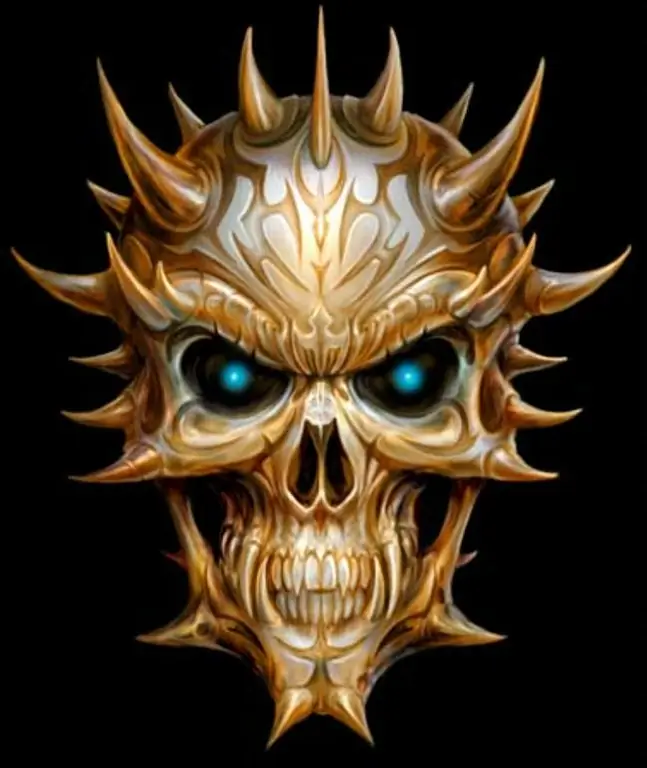
Boys, and not only them, in childhood and adolescence very often like to draw all kinds of fantastic heroes, monsters and, of course, skulls. Often, the child does not know, and the parents cannot explain how to correctly build a drawing of the skull, and subsequently the result of creativity is not at all happy. By observing some simple rules, you can avoid common mistakes of novice artists and draw a human skull almost like a real one.

It is necessary
- - paper;
- - eraser;
- - black pencil;
- - a simple pencil.
Instructions
Step 1
Option one. Skull with closed mouth. Take a piece of paper and a pencil. Sketch the axis of symmetry. To do this, divide the sheet into 2 equal parts vertically with a thin line (do not press on the pencil, the line will need to be removed later). Mentally divide the axis into three parts and draw a dotted line at the top, thereby marking the line of the eyes.
Step 2
Start your drawing by drawing a kind of window frame. Draw the lines of the eyebrows, chin, cheekbones, jaw and where the nose will be.
Step 3
Draw the eye sockets along the marked line of the eyes, paint over them inside, outline the nose and skull. The strokes should be jerky and clear. Do not try to work all over the sheet at once, draw first the left side of the skull, and then similarly the right one. Next, detail the jaw - draw the teeth and other small parts.
Step 4
In order to achieve naturalness and realism, it makes sense to put an artificial skull in front of you, or at least open an anatomy textbook, this will allow you to correctly position the facial bones and give them the desired size.
Step 5
Trace all the paths with a black pencil or regular pen. Erase unnecessary lines with an eraser. The skull is ready. If you wish, you can shade some of its features with the same simple pencil.
Step 6
Option two. We draw a skull with an open mouth.
Take a pencil and a piece of paper. Draw auxiliary lines with a pencil in the form of the same window, only its upper part should be slightly inclined.
Step 7
Sketch the locations of the cheekbones, eyebrows, nose and eyes. Draw the head, part of the cervical vertebrae. Remember that the base of the skull does not have to be flat, draw the occipital cavities.
Step 8
Mark the jaw in a triangular prism. Detail all the small details and make black shading for the eyes and a little of the skull itself, as well as the jaw area.
Step 9
Draw the lower part of the skull so that there is a distance between the jaws. The greater this distance, the more the mouth of the skull will open. Pay attention to how the jaw bones are displaced and visually lengthened when the mouth is opened, it will be necessary to draw the articulation of the bones.
Step 10
Trace all the paths with a black pencil or pen. Erase unnecessary lines with an eraser. The drawing is ready.


