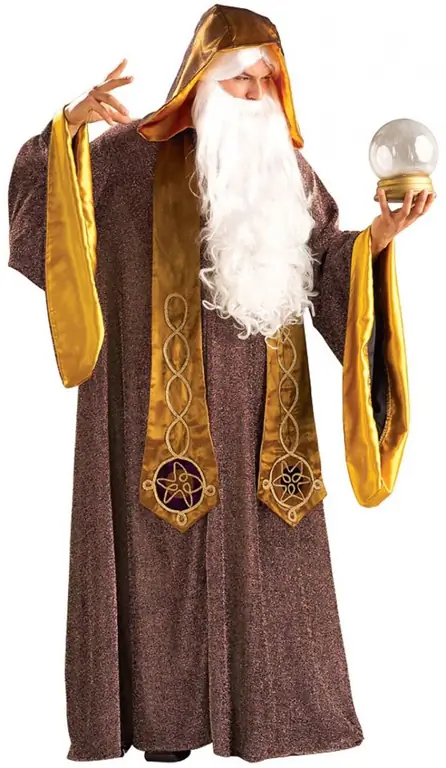
Having mastered the technique of drawing in Photoshop, you can create colorful and effective images on any topic, including the popular and fashionable fantasy theme. For example, you can try your hand at drawing a wizard or sorceress. To work, you need not only Adobe Photoshop installed on your computer, but also a graphic tablet with a pen.

Instructions
Step 1
To get started, create a clean new document and sketch the future drawing with a thin, hard, dark brush. In the brush settings, pay attention to the Size Jitter and Scattering items - by setting them, you can achieve a realistic sketch.
Step 2
Make sketch lines as clear and clean as possible by zooming in for convenience. Consider the pressure of the pen on the tablet when creating lines - different degrees of pressure can lead to unusual visual effects of your lines.
Step 3
After working through the sketch, determine where the light source will be. To do this, create a new layer and, using a black and white palette of colors, paint with a soft brush volumetric light spots and shadows, adjusting the layer's opacity (it is enough to set 60% transparency), and also adjusting the Flow value - it can be equal to 70%. After working on the areas of light and shadow on a separate layer, merge this layer with the sketch, and then on the created new layer set the blending mode to Luminosity.
Step 4
Create a new layer and start applying basic colors on it, creating the scale of the future drawing. Achieve smooth transitions between base colors by varying the opacity and dispersion of the brushes. The softer the brush you want to use, the more transparent and diffuse it should be.
Step 5
On this layer, work only with basic shades - create a separate layer to work out the details. This will allow you to easily and quickly edit errors at some points without affecting other parts of the picture. Gradually add details to the picture, and also outline the areas of light spots. Add a necklace to the wizard, add some pieces of clothing - for example, a fur collar.
Step 6
Boost the frontal light as needed to enhance the shine of gold jewelry or glittery ornaments on your character's clothing. To draw the fur, first create a soft, uniform base, and then sketch out the outlines of the pile with soft brushes. You should have realistic fluffy fur.
Step 7
Bring the magic attributes to life by adding a glow to them - using a soft translucent brush, paint the hands of the magician holding the magic items, as well as the objects themselves, in any color that should be present in the glow.
Step 8
Set the Blending Mode of the layers to Color Dodge, then use a small soft brush to paint over the glow with white, then add a Gaussian Blur filter to the layer. You can also apply the Color Dodge blending mode to the filter.
Step 9
Remove unnecessary blurry parts, keeping the desired parts of the picture clear and bright. The wizard's face and body should not be blurred. Draw in more detail and neat little details of the wizard's costume and accessories, as well as work out the background.


