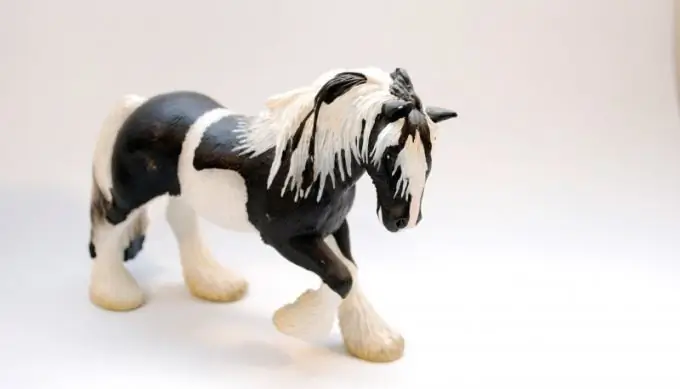
Many people who are fond of hand-made are forced to photograph their products in order to show their work to potential buyers. Others just want to take pictures of their favorite toys to show off to friends and discuss their collections. For all the seeming simplicity of the task - to take a camera and press a button, it is not so easy to remove a toy beautifully.

It is necessary
- - camera;
- - two sheets of white paper A3;
- - graphics editor.
Instructions
Step 1
If you decide to take a high-quality photo of a toy, first you need to equip a workplace. Remember that the subject should be clearly visible in the photo, with a minimum of shadows and highlights. Therefore, take a close look at your apartment and find a spot where the lighting falls in such a way that objects do not cast long shadows. There you will work.
Step 2
It is desirable that the background be monochromatic so that the toy can be clearly seen on it. Therefore, shooting against the background of wallpaper is not the best solution. Take two sheets of A3 paper. Put one of them on the floor, put the other perpendicular to it - this will be your background.
Step 3
When setting up your "model" on a white background, place it as close to the edge of the sheet as possible. Otherwise, those viewing your photos will feel like a confined space.
Step 4
Now you need to set up your camera for shooting. First, remove the flash. Adjust the white balance manually. To do this, bring a white sheet of paper to the lens and click “apply”. Please note that the white balance should be adjusted in the same place where you will shoot the toy so that the lighting does not change. Then select the macro mode on the camera. You are all set to shoot.
Step 5
Start photographing the toy from all sides, from any height, from different angles. This way you can choose the best shots later and decide for yourself exactly how you want to shoot.
Step 6
After you have selected the frames you like, you can bring them to mind with the help of graphic editors. Most often, Photoshop is used for this. Use the Stamp tool to remove dark spots and highlights, sharpen if needed in the Filter menu, and experiment with the color and contrast of the photo in the Image menu. Save your changes. Now you can show everyone the result.


