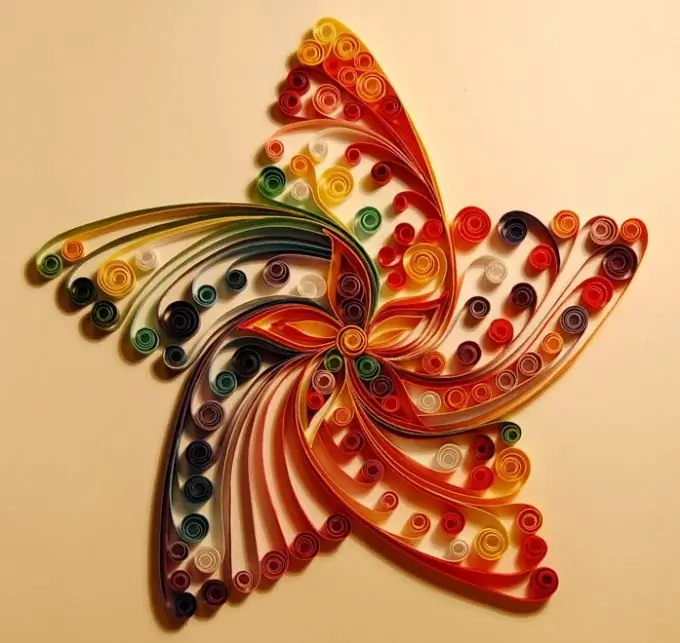
Quilling is the art of making flat or voluminous compositions from strips of colored paper twisted into spirals. The quilling technique is now very popular. With her help, postcards, paintings and more complex installations are created.

Quilling history
The art of paper-rolling got its name from the English word "quill", which means "bird feather".
This type of needlework appeared at the end of the 14th - beginning of the 15th centuries in Mediterranean Europe. Monks are considered to be its ancestors. It was they who, cutting off the gilded edges of the books, wound them on the tips of bird feathers. This created an imitation of a gold miniature.
Quilling quickly gained popularity in Europe, particularly in Germany and England. This art came to Russia only at the end of the 20th century.
Crafts making using the quilling technique
Despite its seeming simplicity, quilling is by no means so simple. It requires patience, dexterity and imagination. Therefore, to master it, one should start not with voluminous compositions, but with pictures and postcards.
First you need to get the right tools.
First, you need paper. For quilling, paper of various densities is used, dyed through. It is cut into strips 15 to 60 centimeters long and 1 to 15 millimeters wide. But you can buy a ready-made set in specialized stores. For paper rolling, paper of various densities and dyed through is used. The sets include both monochromatic stripes and shiny, mother-of-pearl and even double-toned stripes.
Secondly, for the convenience of twisting, you will need a special tool, similar to a long two-pronged fork. It can also be purchased at the store. To create complex works, they also use machines for corrugating paper and cutting paper fringe, as well as rulers with circles to create the same elements.
In addition to strips of paper and a "fork", you need PVA glue and scissors to twist them.
After purchasing all the tools, you need to choose a scheme for the future picture. For beginners, simple floral patterns made up of symmetrical circles are recommended.
To create a paper element, the so-called module, the tip of the paper strip is inserted into a "plug" and tightly wound. The modules are twisted from strips of the colors indicated in the diagram. After creating the required number of elements, they are carefully laid on the canvas and compared in number. If there are enough modules to create a circuit element, they start gluing.
The sticker is made with tweezers and PVA glue, which, if necessary, can be replaced with any other thick glue. A small drop of glue is applied to each module and, holding it with tweezers, is pressed against the canvas. Thus, the entire scheme is filled with paper elements.
After the painting has dried, it is inserted into the frame.


