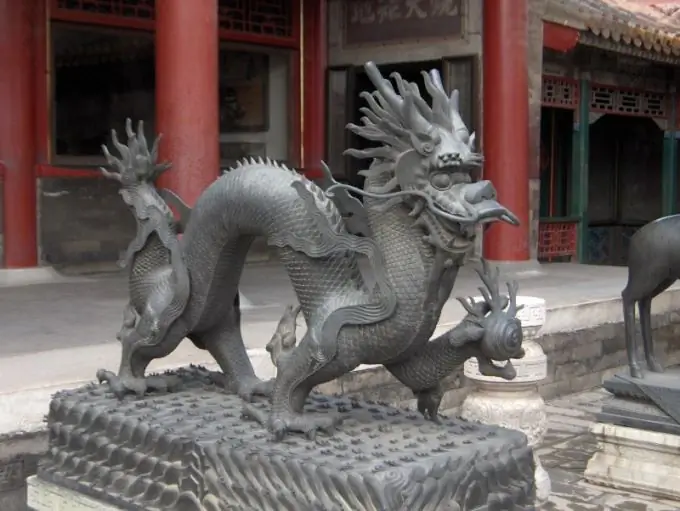
The mythological image of the dragon, which has found widespread use in fantasy, is now very popular. This creature consists of the body of a reptile, sometimes combined with body parts of other birds, fish and animals.

Instructions
Step 1
Choose from the round hard airbrush brush set. Sketch it. The first rough sketch should define the dragon's pose and body proportions. Execute it on a new layer on top of what will serve as the background.
Step 2
Use a light gray color. Set the Opacity of the sketch to 50% and create a new layer on top of it. Using a smaller brush, zoom in. This will transfer the sketch and add all the main features. Use a dark gray for this.
Step 3
Merge both layers into one and again set the opacity to 50%. On top of the previous layer, create a new one and make a linear end sketch (Lineart) with a brush and a dark gray color. After deleting the first layer, set the multiplication mode (Multiply) on the linear sketch.
Step 4
Create a new one under the layer with the sketch and fill it with base colors, however, do not choose too bright and saturated colors. Then start creating another layer on top of the sketch. To do this, take a shade brighter than the base color and carefully paint the light areas on the body of the dragon.
Step 5
Determine from which side the light will fall on it and give the shapes volume. And since there are highlights to be added later on, don't make the light too bright. On a new layer, select a darker shade than the base and apply shadows. Try to make the transition as smooth as possible between shadows and highlights.
Step 6
Now merge the shadow and light layers into one and create a new one on top of them. Using the eye-dropper, select the brightest color on the entire body of the dragon and make it even brighter. Add details and highlights. Follow the smoothness of the transitions.
Step 7
Draw the horns, mouth and fin in the last step. Add textures or some scales as desired. Erase sketch lines where needed. After editing the image with color and tonal adjustments, add a background and upload the image.


