Photographs taken by optical printing can have undeniable family, historical and even artistic value. But ensuring a long life for photographic prints, especially color prints, is quite difficult. Digitizing photographs is the only way to preserve these materials.

It is necessary
- - flatbed scanner;
- - software for the scanner;
- - a computer with preinstalled Adobe Photoshop.
Instructions
Step 1
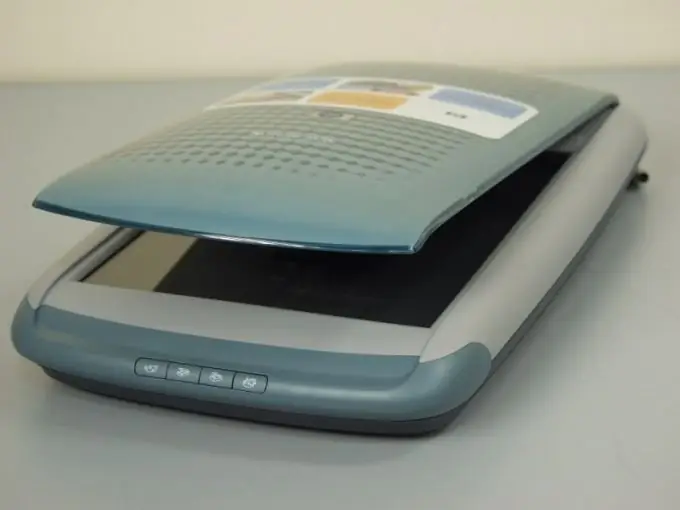
Get a flatbed scanner that can scan color images. The working surface of the scanner should be at least as large as the photographs you intend to digitize. Usually an A4 scanner is sufficient to digitize a home photo archive, but some (for example, group) photographs can be large.
Step 2
Install the software supplied with the scanner to your computer. Connect the scanner to your computer. Place the photo on the working surface of the scanner with the image against the glass and be sure to close the lid. Do not open the scanner cover during the entire scanning process.
Step 3
Start Photoshop on your computer. On the File menu, open the import tab. From the list of devices that opens, you need to select your scanner. Next, a scan window will open in front of you. Pre-scan and select the area of the photo or part of it that you want to digitize.
Step 4
Now you need to set the scan mode. Start with permission. The standard digital image resolution is 300 dpi (300 dots per inch). A lesser permission should not be taken. But photographs made by optical printing have higher detail than digital ones. This allows you to select a higher scan resolution, which can be used later to increase the size of the image. Unfortunately, this method will not give results when scanning photographs that were printed on corrugated photo board, as well as digitally printed ones.
Step 5
It is logical to scan color photographs in color scanning mode. With monochrome photographs, things are not so simple. If you want to preserve the warm tones of Bromportrait photographic paper or the texture of an old photograph, it is quite possible to scan the originals as color. Color scanning helps you make noise corrections or retouching in layers. It all depends on your choice. If you do not intend to use these techniques, you can select the Grayscale mode.
Step 6
The functions of suppression of noise, dust and other additional settings should not be abused. Photoshop has more options for solving these problems, and it would be better to use it. Sometimes it is advisable to increase the scan brightness for too dark photographs, but the level of changes made will have to be chosen experimentally. The scanning process does not affect the photo print itself, so you can repeat it if necessary by changing the settings.
Step 7
Then you can start the actual scanning process. It takes some time, after which the photo will appear in the Photoshop window. In this program, you can rotate the image to the desired position, correct color, brightness and contrast, crop the frame. Here you can also carry out retouching, remove losses, dust and scratches. Photoshop has a very large set of filters that allow you to perform almost any necessary action with images.
Step 8
The best image quality will be ensured by saving the digitized photo in TIFF (tif) format. For posting photos on photo hosting and for more compact storage, the JPEG (jpg) format is now the most used. Here, the choice is yours. You just need to take into account that compression of an image in JPEG leads to some loss of information, which will not be recovered when converting back to TIFF.


