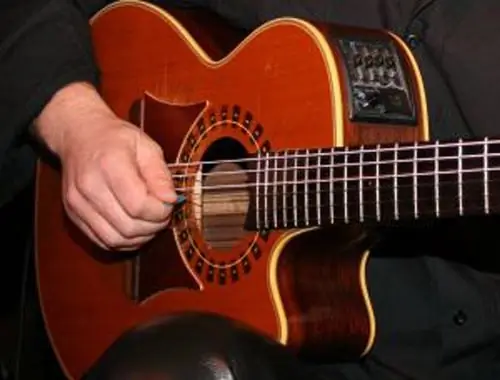
You bought or presented you with a guitar, but you have neither money nor a place in the apartment to buy special recording equipment, but you really want to record your work. In this case, an ordinary home computer can act as a recording technique. You just need to correctly connect your instrument to it. The second good reason for connecting a guitar to a computer is to process the raw sound with software guitar processors, which will help save money on amps and gadgets.

It is necessary
- - guitar
- - microphone
- - pickup
- - cord with jack-jack output
Instructions
Step 1
There are several options for connecting an acoustic guitar that is not equipped with a pickup: very cheap, more expensive, expensive and combined. In fact, there are no striking differences in the connection of the guitar itself, however, each version has its own nuances, which, of course, must be taken into account.
Step 2
The cheapest option is to shoot sound through an ordinary dynamic microphone, which must be connected to the computer into the microphone input of the sound card. A microphone is usually drawn opposite it. In order to adjust the volume of the microphone playback, you need to go to the "Control Panel" from the "Start" menu and select the "Sounds and Audio Devices" section. Click the Audio tab and click the Settings button in the Audio Playback area. The Master Volume Control Panel window should appear. Next, go to the "Options", where click the "Properties" button and put a checkmark in front of the inscription "Microphone".
Step 3
Almost the same sequence of actions must be done when recording. "Start" -> "Control Panel" -> "Sounds and Audio Devices", find the "Audio" tab. Next, click the "Settings" button in the "Sound Playback" area, after which the general volume control panel should appear. On the panel, go to "Parameters", then to "Properties", where put a tick in front of the inscription "Microphone". This will allow you to adjust the level of the signal recorded from the microphone.
Step 4
If this option does not suit you due to the poor recording quality, you can purchase a transducer or piezo pickup. Pickups are different - from an ordinary tablet to expensive models, but they do not differ much in the connection method. If you have purchased a piezo tablet, the guitar connection is the same as described in the first step. However, you will have to purchase another jack adapter from 1, 4 '' to 1, 8 ''. And, of course, you shouldn't count on stereo, since jack 1, 4 '' is mono. If the single-channel sound does not suit you, this can be solved either in the program, or you can solder the cable into two channels with your own hands.
Step 5
If the pickup is expensive, you can connect it either to the microphone input, or to the line in, if a preamplifier is available to amplify the signal. In other words, the chain is like this: guitar -> preamp -> line in. Enabling the line input in the mixer is no different from the microphone input, except that the checkbox must be put in front of the line “Lin. entrance".


