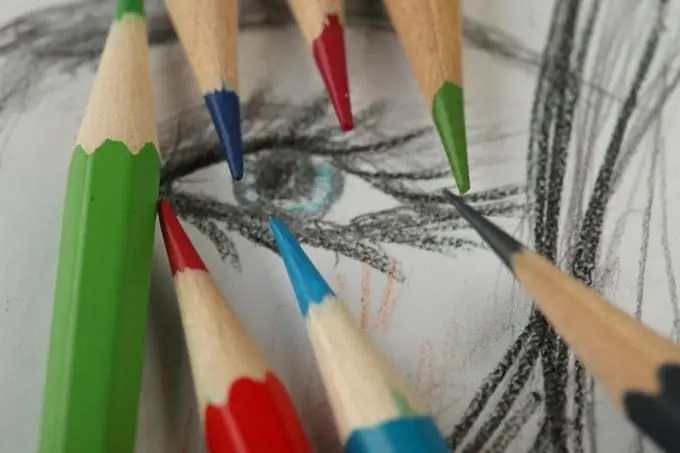
Perhaps, a person's face is the most interesting and difficult to draw. It can convey thousands of shades of mood and bewitch with charm. But one wrong movement of the pencil can destroy this beauty, conveyed in the drawing. To make it easier to work on a portrait, you can use the knowledge of the "classic" proportions of the face, changing them in accordance with the appearance of the posing.

It is necessary
- - pencil;
- - paper;
- - eraser.
Instructions
Step 1
Take a sheet of A3 paper. Lay it upright in front of you. Select a space on it where the portrait will be located. There should be "air" around the face so that it does not touch one of the sides of the sheet.
Step 2
Draw a rectangle equal to the height and width of the face. Its sides should match the ratio of the height and width of the model's head.
Step 3
Divide the rectangle in half with a vertical line. This is the central axis along which you will check the symmetry of the construction of both halves of the face. Symmetry is important during the sketching phase, then it can be slightly broken in accordance with the natural data of the model - human faces are usually not 100 percent symmetrical.
Step 4
Divide the rectangle with horizontal lines into six equal parts. For convenience, number the lines - the top one will be the first, and the bottom one will be the seventh. Draw the eyes on exactly the fourth line. The axis will come to the pupils. The distance between the eyes is individual, but, as a rule, roughly corresponds to the width of the wings of the nose.
Step 5
Draw your eyebrows between the third and fourth lines. Pay attention to their shape - drooping ends will give your face a frustrated expression, while overly raised ends will make it surprised.
Step 6
The fifth axis will point to where the tip of the nose is. Slightly below this level are the earlobes, and their upper border coincides with the level of the bridge of the nose.
Step 7
Draw lips on the sixth axis. To determine where their tips should be located, draw straight lines from the pupils downward.
Step 8
Adjust all constructions to match the actual appearance of your model. After that erase all auxiliary lines.
Step 9
Move on to shading the portrait. First fill in the lightest areas of the face with color, then darken them in the shadows. The direction of the stroke should follow the shape of the part of the face. Then over the main shading, overlay several lines located at an acute angle.
Step 10
If you have darkened the drawing too much in some area, you can remove excess graphite with a nag eraser.
Step 11
Do not rub the pencil shading, trying to convey smooth gradations of tone. Instead, change the pressure on the pencil so that the line goes from very light to saturated.


