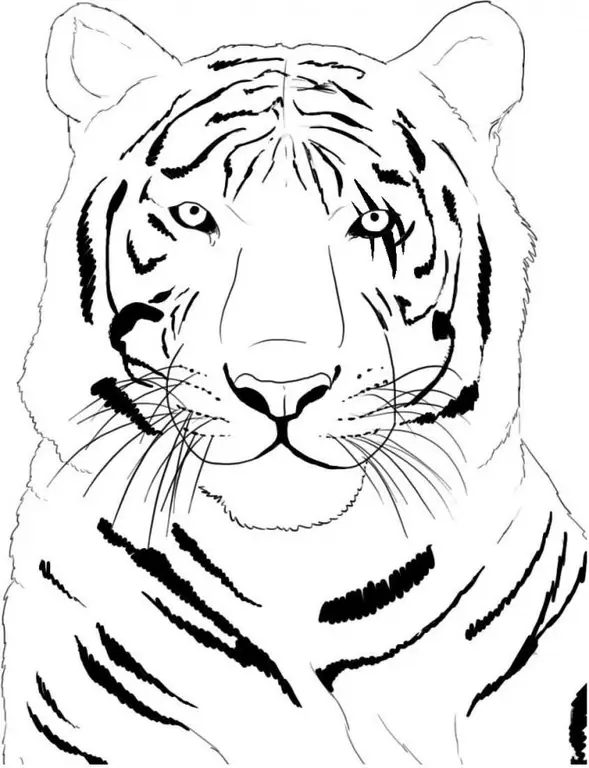
The tiger is a proud and beautiful carnivore, and it often becomes an attractive object of attention of artists due to its graceful forms and bright colors. It is believed that drawing a tiger is difficult, but in this article we will convince you that step-by-step drawing is available to everyone, and you can, with practice, draw a tiger yourself.

Instructions
Step 1
First, draw an even circle with a pencil on a piece of paper. Mark a point in the center of the circle, and along this point draw a vertical center line. Divide the upper and lower half of this line in half.
Step 2
Through the center point of the circle, draw a downward curved line with the ends pointing up. This is the first guide for the tiger's face - the eyes will be located on this line.
Step 3
Divide the right and left half of this line in half and draw two more vertical lines through the midpoints, parallel to the center line of the circle. Also divide the part of the arc that remains between the two new lines in half in the left and right sectors. These are blanks for the inner corners of the eyes.
Step 4
Divide the lower part of the mid-vertical line, starting from the center point, into three equal parts and draw a line from the inner corners of the eyes to the lower part of the circle.
Step 5
Draw an arc through the bottom point dividing half of the vertical line - you have outlined the outlines of the nose.
Step 6
Begin to outline the contours of the muzzle - detail the shape of the triangle of the nose, eyes, lips and chin.
Step 7
Draw rounded ears in the upper sectors of the head circle. Make the tiger more realistic by drawing outlines of voluminous fur sideburns around the muzzle. Imitate fur with light pencil shading. Draw the outlines of the torso and chest below the head.
Step 8
Draw the round pupils of the eyes below the upper eyelid, detail the downward-looking triangle of the nose, and then start drawing stripes. Take a photo of a real tiger as a reference for drawing the stripes.
Step 9
Start by drawing stripes on the top of the head and forehead, then on the cheeks, around the eyes and on the sideburns of the tiger. Remember to leave light areas on the tiger's face - above the eyes, on the cheeks and around the mouth.
Step 10
Add a few more details, finalize the appearance of the tiger with additional strokes - your drawing is ready! Now you can leave it in the graphic or color it in.


