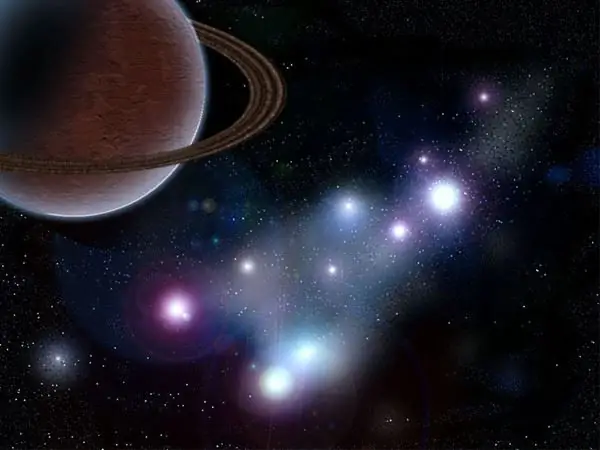
Cosmic pictures and images of planets excite the imagination and make the imagination work even more than usual - you can easily create a drawing of the cosmos yourself, making it the way you dream of seeing interplanetary space. A little patience and a graphic editor Adobe Photoshop will help you with this.

It is necessary
graphic editor Adobe Photoshop
Instructions
Step 1
Create a new 1200x1600px file in Photoshop with a solid black background. Duplicate Layer. Go to the Filter menu and select Add Noise. Set the noise value to 10% and set the noise mode to monochrome. Click OK. The black space will be filled with small white dots.
Step 2
To make the points look more like stars, open the Adjustments section of the Image menu and select the Brightness and Contrast Adjustment item. Set the contrast to 75 and the brightness to 30. White points will become more visible.
Step 3
Duplicate the layer and change the brightness and contrast settings on the duplicate - set the brightness to 100, and the contrast to 50. Open the Edit menu item Free Transform and manually increase the background from the duplicated layer so that the stars increase in size.
Step 4
Stretch the background while holding down the Shift key to the desired size, rotate it 90 degrees, then in Blending mode change the layer blending mode to Screen.
Step 5
Select the eraser tool from the toolbox, set the values to a soft small brush and randomly erase some stars on each layer so that outer space looks more realistic.
Step 6
Erase the excess so that there are not very many stars, but they stand out in different places on a black background. There should be more small stars than large ones.
Step 7
Using the Clone Stamp tool and applying it to large stars, simulate star clusters in small areas of the background.
Step 8
Now duplicate the big stars layer and select Gaussian Blur with a value of 10 pixels from the filter menu. Set the blending mode to Linear Dodge, then press the keyboard shortcut Ctrl + U.
Step 9
To make the stars glow in any color, choose a suitable color tone (for example, bluish).
Step 10
Create a new layer with Linear Dodge Blending Mode, fill it with black background, and then go to the Filters menu and choose Render> Lens Flare. Use a 35mm lens to set some bright highlights on the drawing.
Step 11
Then create another layer and change its opacity to 25% and the layer blending mode to Screen. Use a soft blue paintbrush to paint in a few strokes to simulate stardust.
Step 12
To depict a colored nebula in the picture, create another layer and paint a blurred cloud of blue color with a soft brush of medium size, and then paint strokes of other colors directly on top of the painted cloud, without overlapping the colored edges.
Step 13
Feather the painted cloud using a 50 px Gaussian Blur. Create a new layer, fill it with black and choose Render> Clouds from the filter menu. Change the layer blending mode to Overlay - your color cloud will take on the outlines of a real nebula.
Step 14
It remains to draw a planet, which will complete the overall composition of the picture. Download and install a suitable stone texture in Photoshop. Edit it to look more like the planet texture and save it as a new texture.
Step 15
Create a new 1600 x 1600 px file with a black background and then draw a circle in it using the oval selection tool. Fill the circle with the fill from the texture you just created. Then open the filters menu, choose Distorte> Spherize and click OK.
Step 16
After that, duplicate the layer and create a circle of the same size, filled with blue. Open the Layer Style menu and set the Outer Glow, Inner Glow, and Inner Shadow values. Apply a Gaussian Blur filter.
Step 17
Move the shadow layer in relation to the planet's blue atmosphere layer. Set the layer blending mode to Screen so that the texture of the planet appears through the volume.
Step 18
Copy the finished planet to the file with the drawn starry sky and place it in the corner of the picture.


