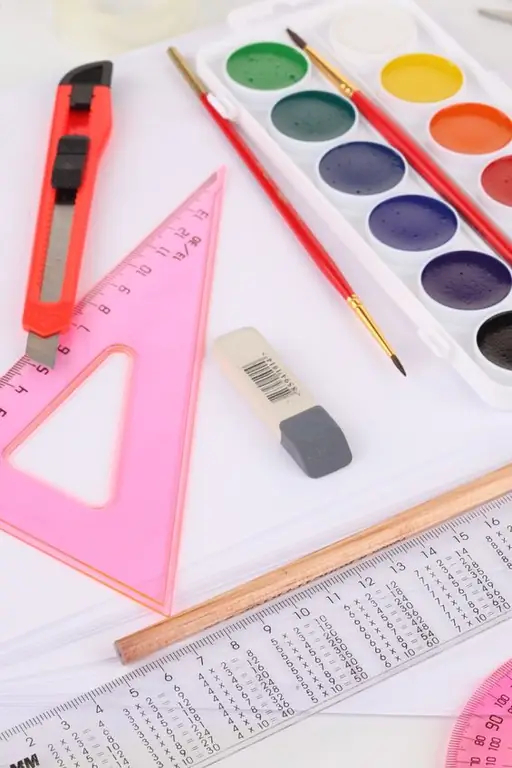
The first sketch of the future costume performs two functions at once. It allows you to "grab the tail" of the very idea of a piece of clothing and at the same time serves as an instruction for its implementation. To combine the ideal and the material in one sketch, follow the algorithm for creating it.

It is necessary
- - paper;
- - pencil;
- - eraser;
- - paints.
Instructions
Step 1
The starting point for creating clothes is the idea. Of course, it is impossible to come up with it on purpose, in one moment. However, it will be useful to accumulate knowledge and impressions, each of which, as a result, will help to form the idea of the costume. Look at quality fashion magazines, be interested in the history of costume and art in general, pay attention to the clothes of others. The accumulated emotions as a result will trigger a wave of inspiration.
Step 2
As soon as it arrives, record it on paper. It is important not to try to immediately draw the clothes in detail, down to each button. Distracted by minor elements, you run the risk of missing out on the costume idea. With a simple pencil, sketch the general outlines of the wardrobe item, draw the approximate shape of each of the constituent parts. If necessary, write down a few associations that led to the creation of a new image.
Step 3
Think about what function the garment will serve: it will serve as an office uniform, an attire for special occasions, or a versatile item for every day. In general terms, define the people you are designing for.
Step 4
Begin to refine the outlines of the invented costume, taking into account all the findings. Move from larger details to less significant ones. Make sure to tailor the garment to suit the situation in which it will be used and the interests of potential users. At this stage, the sketch is worked out only with a simple pencil so that it is possible to erase the lines and make edits.
Step 5
After sketching the front view of the item, sketch the sides and backs on the same piece of paper. Now the smallest details can be designed to give the costume a personality.
Step 6
Decide what fabric the garment will be made of. Depending on this, select the material with which you will paint the sketch. So, flying chiffon will be easier to depict in watercolor, and dense drape - in gouache.
Step 7
Go to the final, "clean" version of the sketch. On a new sheet of paper, select three equal areas: for drawing a model in clothes from the front view, from the back and in profile. Draw a sketch of a person. The level of detail in this part of the drawing depends on how important the rest of the image is, besides clothing. You can restrict yourself to the outlines of a mannequin or carefully draw hair and makeup.
Step 8
Transfer all the designs of the costume to the final copy by merging them. Choose accessories and shoes for the model that match the style. You can attach samples of fabrics to the sketch and make written notes about the features of the cut of clothes and separately drawn "close-ups" of significant details of the costume.


