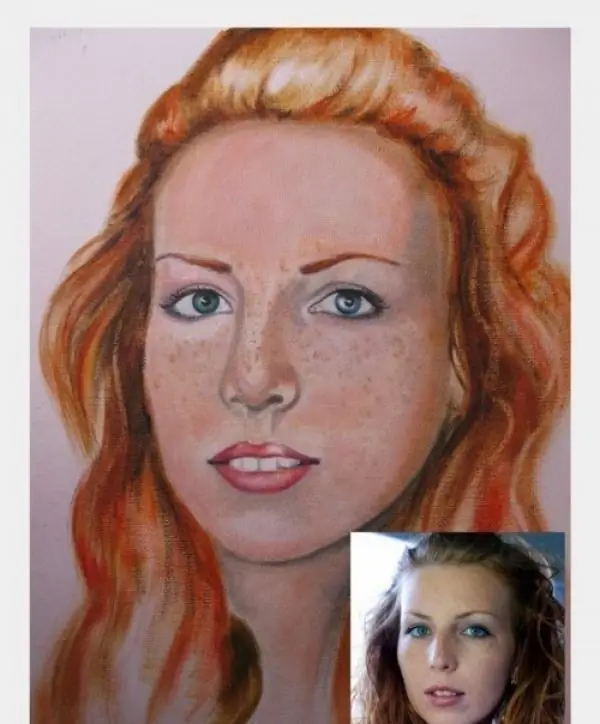
Not many people are lucky enough to have the talent of an artist, but any craft can be learned if you really want to. And it is quite possible to learn how to draw from a photograph, knowing a few rules. Therefore, even if a person has never picked up a pencil before, there is no need to despair.

It is necessary
two simple pencils of different softness, an eraser, a sheet of Whatman paper, a photo for sketching, a long ruler for sketching
Instructions
Step 1
Select the photo you would like to copy. Next, prepare your drawing paper. Attach a sheet of Whatman paper with tape to a sheet of plywood so that you can draw by placing the drawing in front of you, since if you put the drawing horizontally, image distortion will occur
Step 2
Try using the grid method. Make a photocopy of the selected photo, draw a grid on it, dividing the image into cells of a size convenient for you to sketch. Do this with your piece of paper too.
Step 3
Sketch over the resulting squares parts of the image, displaying them cell by cell on a sheet of Whatman paper. …
Step 4
There are other drawing techniques as well.
Mark the location of the future drawing on the sheet with light strokes. This will help to keep the composition and not go beyond the Whatman paper.
Step 5
Select in the picture the individual parts of the depicted object, for example, the head, arms, eyes. In this case, do not forget to respect the proportions.
Step 6
Determine the light and dark places in the picture, shading them with light shading. Thus, you will select the shadow and light in the picture. Remember that dark places are drawn at the very beginning, light ones - at the end.
Step 7
Go to detailing the picture. Do not forget that the central part of the picture should be brighter than the background. Emphasize certain details of the drawing, it can be eyes, nose or smile. Make these details the most contrasting. When the main details are finished, start painting the rest of the drawing, making it less contrasting.
Step 8
Remove excess from the picture: use the eraser to soften certain areas of the image and remove dirt. Add shading or paint the main background of the image.
Step 9
Take a look at your drawing. Match it with the photo and add some details if necessary.


