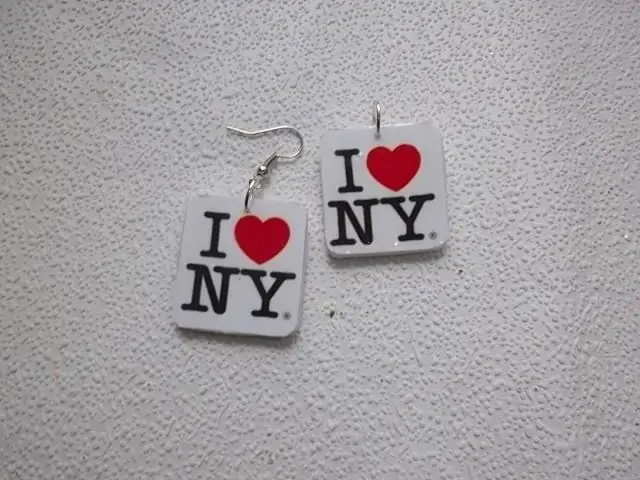
It is quite simple to create earrings with a beautiful picture, pattern or even a photograph on your own. This goal can be achieved in two ways, each of which has already found its admirers.

Polymer clay earrings
This method is quite common among handmade jewelry masters. To implement it, you will need the picture itself, which you want to decorate the earrings with, and polymer clay. The picture will be easy to find among the photos and print in the desired size on a laser printer. Please note: for the second earring, the image must be flipped horizontally before printing. Polymer clay can be bought in art stores or ordered online.
You need to tear off a small piece of clay and roll it out with a rolling pin into an even layer of the desired thickness. Work must begin on the surface on which the product will be sent to the oven for baking, so that they do not deform during the transfer. After that, you should attach the cut pictures to the clay on the same line next to each other. Excess clay must be cut off, leaving 1-2 mm at the edges of the picture.
The next step is to remove the pictures, insert into the center of the pins (small pins for fasteners) or make holes with a toothpick and set to bake. Time and temperature are indicated on the polymer clay packaging.
After the blanks have cooled, their corners should be rounded with sandpaper and the pins should be glued with superglue. Next, you need to spread the base with polymer clay varnish or PVA glue, attach a picture, align it and remove all air bubbles. Above, the image must be covered with varnish or epoxy resin in 3-4 layers. Once the cover has dried and the fasteners are attached, the earrings can be worn.
This is a simplified diagram. To get a better quality product with the ability to use a picture with a transparent background, the image should be prepared. In this case, the pictures are still varnished on a whole sheet of paper in several layers, allowing each to dry. After that, the image is cut out and soaked in warm water for 3-5 minutes. Next, the picture is taken out and gently peeled off the soaked paper from the inside. The rest of the technology remains unchanged.
Dewdrop earrings
Another option for creating earrings with pictures is to use cabochons - smooth pieces of glass with one convex side and the other flat. Having chosen a picture, it should be printed, as in the previous case. Next, on the lower flat part of the cabochon, you need to apply a layer of Moment-Gel glue, press the workpiece to the picture and remove the air between them.
After an hour, when the glue has dried, cut off the excess paper with small scissors. After that, glue is applied to the base pendant (it, like other materials, can be purchased at craft stores) along the inner edge, and then spread with a toothpick over the entire surface. The glue should be allowed to grab for 5 minutes, and then the cabochon should be pressed firmly against the pendant with your fingers and the workpiece should be held in this position for 30-40 seconds. After you put on and secure the earrings, the earrings are ready.


