Hand-made jewelry is a popular trend today. In a variety of techniques with your own hands, you can make, for example, graceful earrings for any outfit. They will not only perfectly complement the image, but will also be one of a kind, and will also tell others about what kind of needlewoman you are.

It is necessary
- • warm soapy water,
- • jewelry wire,
- • non-spun wool,
- • needles, threads,
- • ear wires,
- • scissors,
- • epoxy adhesive,
- • hot glue,
- • metal clips,
- • beads.
Instructions
Step 1
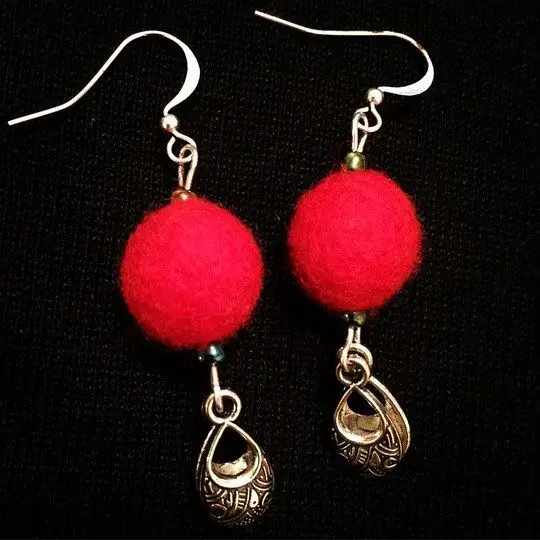
With the help of affordable and cheap materials, you can make original sets of earrings in various styles, from classics and ethno to avant-garde. Make original earrings out of multi-colored wool using the wet felting technique. Choose the color you want for this. If the desired shade is not available for sale, you can create it yourself by mixing colors. Let's say you want to make the earrings bright orange.
To do this, you need yellow and red wool. Fold the strands together so that the fibers of different colors are mixed, then divide the bundle in half and fold again in the same way. Repeat this procedure until all the fibers are mixed and you get the desired bright orange hue.
Having received the wool of the desired color in sufficient quantity, lay out its strands with fibers parallel to each other, then begin to gradually roll them into a ball. Soak your palms in warm, soapy water and continue to roll the ball with your hands, as if you were working with plasticine or clay. Before the ball becomes too tight, add new fibers of the color you need to it, just fluff them first.
Moisten your hands periodically in warm, soapy water to secure the felting. If you overdo it with water and the ball becomes too wet, roll it on a towel. The ball can be considered ready when it becomes tight enough to the touch, and individual villi and strands will not be visible on its surface.
A well matched ball will not change its shape. Therefore, to check, press the ball, if it becomes oval, continue rolling.
If you would like a ball with a more complex texture, try adding some linen or silk fibers to the ball.
Make a pair of beads for the second earring, the same size as the first. Rinse the resulting beads and let them dry.
Attach earring clasps to the felt balls. It is better to buy ear wires in a hardware store, but if you wish, you can make it yourself from wire, but this is quite painstaking work and will take a lot of time. Since you need to achieve a perfectly straight edge of the wire so that it does not injure your earlobe when you insert the earring. Sew the ball to the ear of the hook exactly in the middle with a silk thread. The earrings are ready.
If you want, make it easy by felting just one ball of felt. Cutting it into two parts, you can make hemispherical earrings; the advantage of such a product will be an interesting texture on the cut.

Step 2
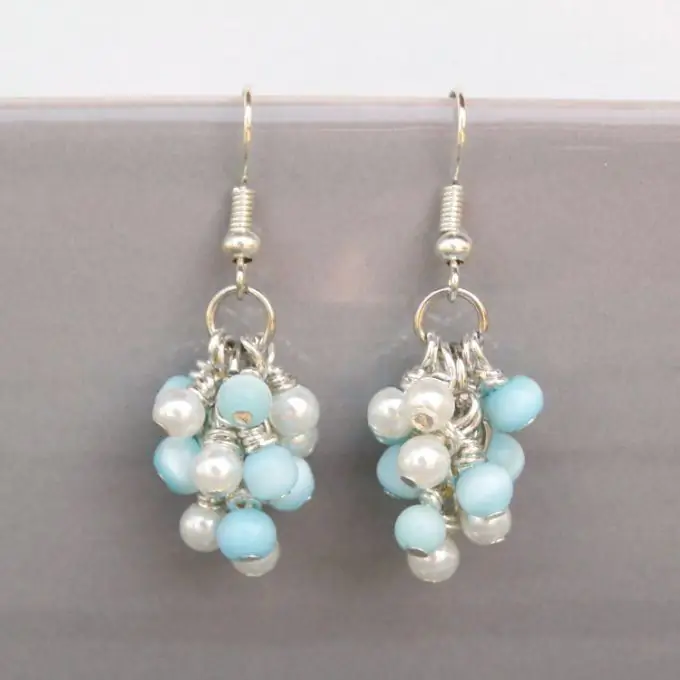
Original earrings can be made by collecting various beads on a special wire. There are a lot of options for making such a decoration - just visit a handicraft store. Here you can find figurine beads, metal and glass beads, and even beads made of semi-precious stones. Murano glass beads have become very fashionable lately. Using them in your product, you will get not just beautiful, but iconic earrings.
An elegant pendant can be attached to the end of these earrings as a decoration. To do this, start creating your earring by forming a hook on the wire. Bend the wire with sharpened tweezers. Try hooking the wire over a metal bar such as a knitting needle. Place the pendant on the hook and clamp it using small pliers or burr pliers.
If you prefer to see a beautiful bead instead of a pendant, form a bulge at the end of the wire that will hold the beads on the wire. This role can be played by a drop from a piece of wire melted by a soldering iron or a neat spiral formed with pliers.
Now the base wire for the earring is ready, string the beads on it, and at the end, secure the end of the wire using pliers as well. The earrings are ready.
It is even easier to make earrings from wooden discs. Such a product looks very fashionable, in ethnic style. To decorate it, you can use the decoupage technique, applying pictures to the tree. Using a drill and glue, attach the hooks to the discs, paint the discs with acrylic paints, add a picture and cover with a finishing varnish.

Step 3
Another spectacular jewelry option is polymer clay earrings. Such a product will be more readily created by lovers of sculpting. Even with minimal sculpting skills, you will end up with amazing flat figures. A variety of templates can be used to make your work easier.
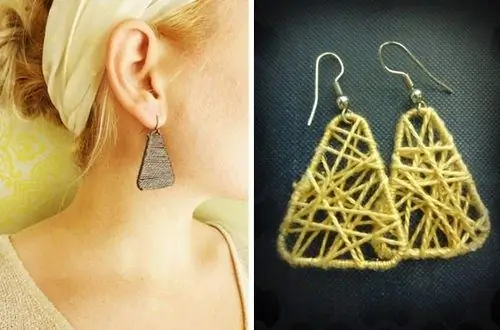
A pair of ordinary paper clips can be found in any home. By connecting imagination, they can be easily turned into an exclusive piece of jewelry - original and stylish triangular earrings. To do this, unfold a paper clip so that it forms a triangle. If you want, give the paperclip a different shape, such as a flower. Secure the edges of the shape with epoxy or hot glue so that there are no gaps in the base.
Hot glue the thread to the paperclip. After 10-15 minutes, the glue dries up, start wrapping the thread around the paper clip, and then wrap the figure in any way, forming the desired decoration ornament. Also fix the end of the thread with glue and fasten the hooks, the earrings are ready.

Step 4
For a neat, classic look, horizontal stripes are perfect. Fantasy meshes will look no less impressive. To create a pair of glamorous pendants, first string beads or small beads on a string. Try experimenting with colors and options for winding the thread around the warp. Triangle earrings made of paper clips will be a great accessory for boho style clothes!


