The use of icons in the interfaces of application software and graphical shells of operating systems began practically from the moment of the appearance of the graphical interfaces themselves. Pictograms are small images that are identified with the actions taken when the controls are activated. On Windows, icons are stored in ICO format and often contain multiple images. You can draw a pictogram using a graphical editor and special tools.

It is necessary
- - raster graphics editor with the ability to save images in BMP format;
- - IconPro utility.
Instructions
Step 1
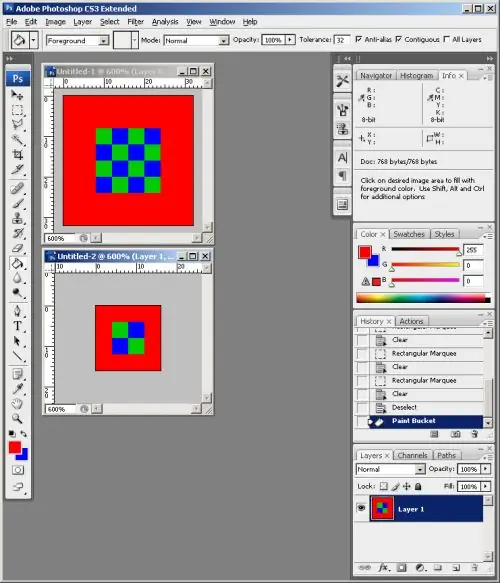
Create several images of different resolutions for the future pictogram. Use a bitmap graphics editor of your choice. It can be Photoshop, GIMP, or Paint, which comes with the Windows distribution.
Image resolutions can be any. However, it makes sense to create pictures that have standard icon resolutions in operating systems. So, small icons are usually 16x16 pixels, and large and large ones are 32x32 and 48x48, respectively. Also sometimes used are icons with a resolution of 22x22 (for toolbars), 64x64 and 128x128 (as images in dialog boxes, but very rarely) pixels.
When creating pictures for the thumbnail, select the areas that you want to be transparent. Fill them uniformly with any, but the same color, which is not used anywhere else in the image.
Step 2
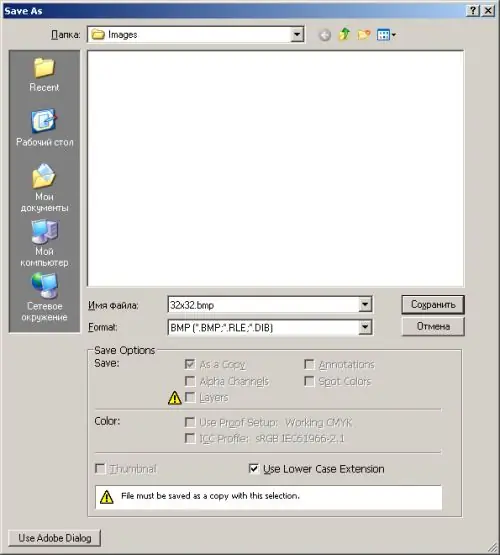
Save the generated images in BMP format. Use the corresponding function of the graphical editor. Image files should be named according to their permissions.
Step 3
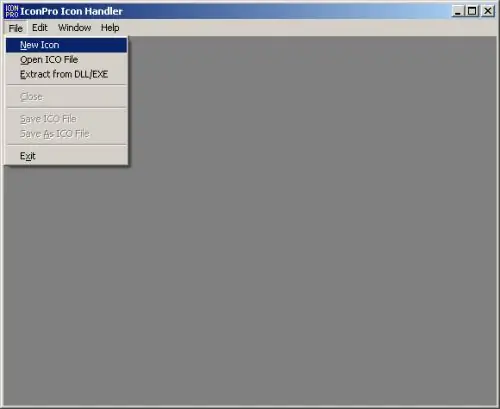
Create a new icon in IconPro. In the main application menu, select File and New Icon.
Step 4
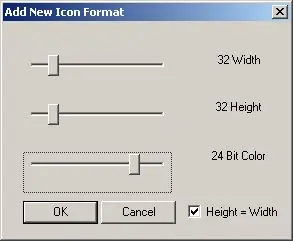
Add several image formats to your thumbnail. On the IconPro menu, click on the Edit and Add Format… items. In the displayed Add New Icon Format dialog box, select the icon raster resolution and color depth. Add the formats corresponding to the parameters of the images created in the first and second steps.
Step 5
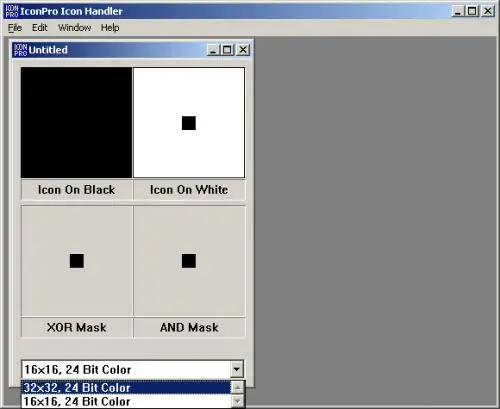
Select one of the thumbnail formats. Click on the drop-down list located at the bottom of the document window. Select the item corresponding to the format.
Step 6
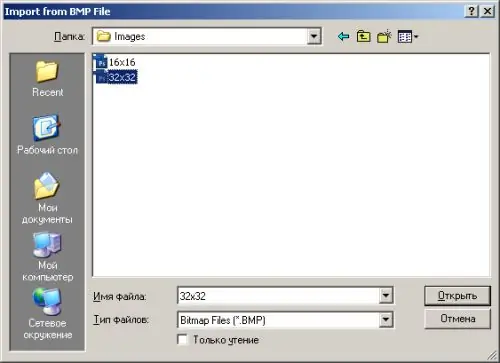
Import an image corresponding to the selected format from a file. Select Edit and Import BMP from the menu. In the displayed dialog, navigate to the directory where the images were saved in the second step. Select the required file, click the "Open" button.
Step 7
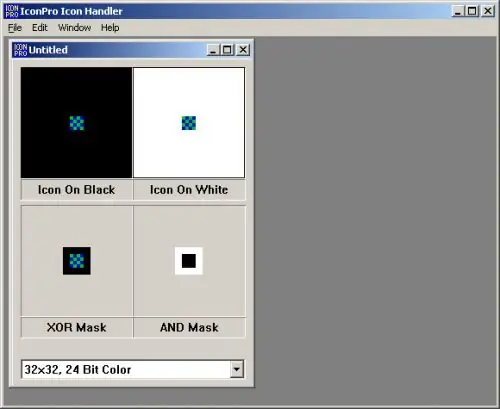
Define the transparent areas of the raster of the current thumbnail format. Press the Ctrl key and, while holding it, click with the mouse in the image area on the XOR Mask panel, filled with the color set for the transparent areas. Repeat steps 5-7 for all added thumbnail formats.
Step 8
Save the icon to a file. Select File and Save As ICO File from the menu. Specify the file name and storage directory in the dialog that appears. Click the Save button.


