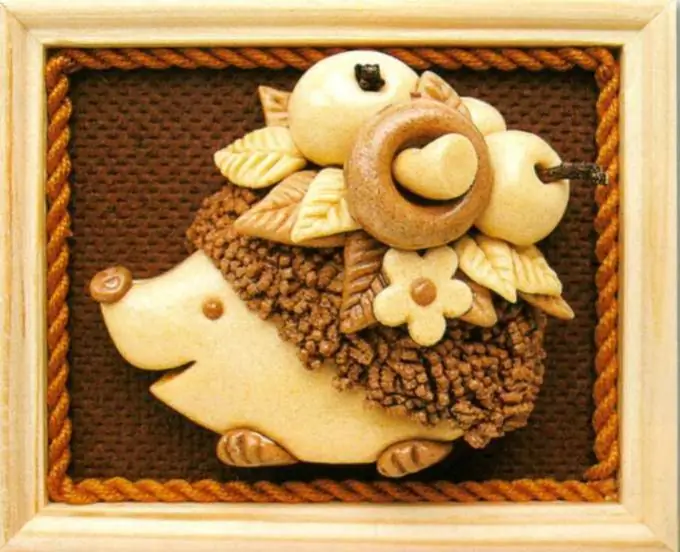
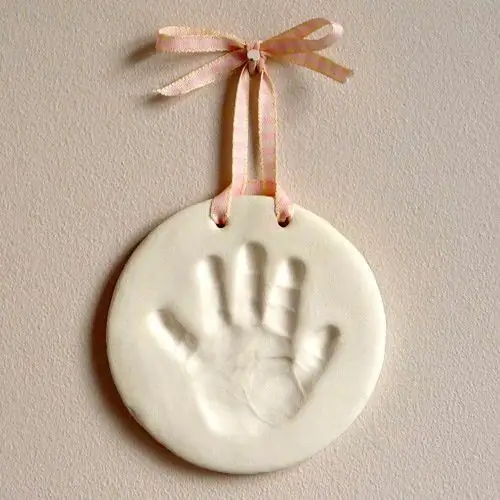
Salted dough is an environmentally friendly and safe material for creativity, modeling from which is popular not only among kids, but also among adults. With the help of plastic mass, the main components of which are flour, salt and water, you can create a wide variety of crafts: prints of children's hands and feet, panels and volumetric paintings, flowers and all kinds of figurines. Cooking salt dough takes very little time and requires a minimum of scrap materials.
Instructions
Step 1
The main advantages of salted dough over other materials for sculpting at home are:
1) The material for creativity does not require financial investments, because most often the components necessary for its preparation are at hand.
2) Salted dough is easily washed off hands, does not stain clothes and the surface used for modeling.
3) The mass does not stick to the hands during use, it keeps its shape perfectly and has high density indicators.
4) You can dry the molded figures both outdoors and in the oven.
5) As a means for coloring crafts, you can use both food colors and standard coloring materials (gouache, acrylic paints, watercolors, etc.).
6) Coating finished products with varnish significantly increases the duration of their preservation of their original attractiveness.
Step 2
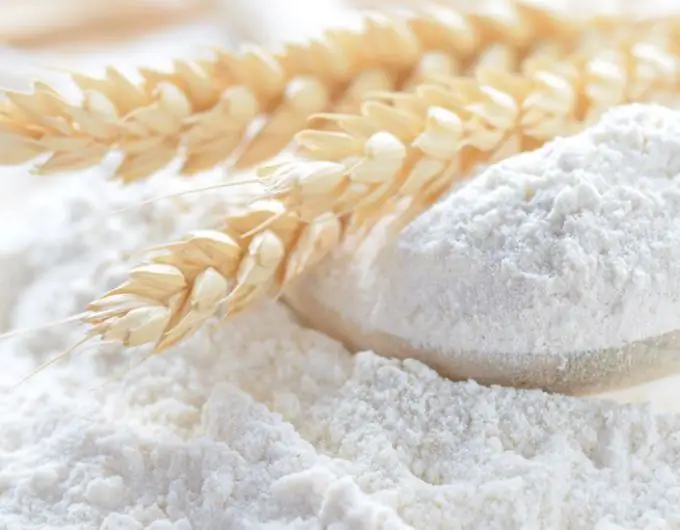
It is better to take the most common flour for salted dough without all kinds of additives and impurities. For example, flour, on the packaging of which there is an inscription "for pizza", "pancake" or "for pancakes", is completely unsuitable for preparing the material. Crafts made from such products, when dried, can rise well, and in the future they can completely crack. Give up rye flour as well - the dough from it will certainly turn out to be tough and inelastic, and it will be very difficult to sculpt from it.
Step 3
Use regular fine salt for the dough. Iodized and seafood will not work - their large grains will not dissolve, and the dough will turn out to be heterogeneous "speckled". As for water, it is better to use it cold, and you should not pour salt and flour with the entire volume of liquid at once, it is more correct to add water a little at a time and immediately knead the dough thoroughly.
Step 4
Additional components can also be used to impart certain properties to the sculpting mass during the preparation of salt dough. So, dry wallpaper glue will make future crafts more durable, hand cream and vegetable oil will add plasticity to the material, and food colors will color the mass in the desired color.

Step 5
The classic recipe for salty dough with minimal ingredients is ideal for beginners. To prepare it, combine half a glass of fine salt and a little less water at room temperature in a deep bowl. Stir the mixture well and set aside for 25 minutes to infuse.
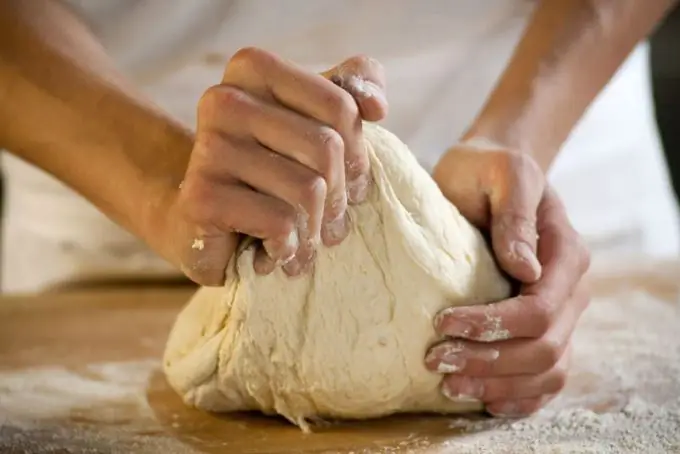
Pour half a glass of flour into a saline solution, stir the mixture well with a fork, knife or whisk. Try to break up the lumps that arise immediately to obtain an elastic homogeneous mass. If the dough is thin, add more flour. Pay attention to the fact that the mass does not crumble or fall apart, knead it with your hands until it turns into a tough dough. Check the readiness of the material with your finger. Leave its mark in the mass, and if the print "does not float", but keeps its shape, the salted dough is ready for sculpting.
Step 6
To prepare a material that is more delicate in texture, which differs from the traditional salt dough with a lower density, you will need 2 glasses of water, 2 glasses of flour, 1 glass of salt, as well as 1 tablespoon of vegetable oil and citric acid and acid. Such a mass does not stick to the hands at all, is easy to process and does not require much effort in the formation of various figures, which is why it is considered an ideal material for children's creativity.
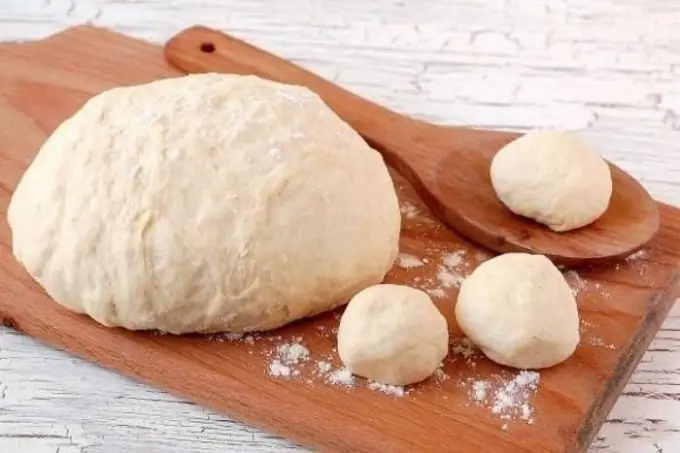
To prepare the choux salty dough, pour the water into a small saucepan and heat without boiling. Add vegetable oil to the liquid. Combine dry ingredients in a deep bowl, mix well and gradually cover with hot water, stirring occasionally with a fork or whisk. At first, the dough will seem very liquid to you, but over time, the flour will brew, and the mass will become denser. Knead the material until it turns into a flexible, stretchy dough, perfect for shaping a wide variety of shapes.
Step 7
If you add food coloring in powder, liquid or tablet form to the salt dough at the stage of mixing the ingredients, you can immediately get the material for modeling a certain shade. To prepare a colored salty dough in a deep cup, combine 300 g of flour, 300 g of salt and 200 ml of water, knead a thick dough that does not stick to your hands.
Divide the mass into several parts, each of which will acquire a certain shade in the future. Make a small indentation in each piece with your finger, add a few drops of water and dye into the hole, wait for the mixture to absorb and knead the dough again. If the colored mass dries up, add a small amount of vegetable oil to it. Perform the same procedure with all the remaining pieces. Arrange the colored material in plastic bags and refrigerate for several hours.

Step 8
The next integral step in creating figurines from salt dough is drying them in the oven, in which several important recommendations should be taken into account:
- the approximate drying time of products in an electric cabinet at a temperature of 75 and 100 ° C is an hour, at a temperature of 120 ° C - 45 minutes, at a temperature of 150 ° C - half an hour (in a gas oven this process will take 2 times longer);
- to dry products decorated with beads, rhinestones and other decorative elements, set the temperature not exceeding 120 ° С;
- periodically turn the crafts to achieve the most even drying;
- so that the figurines do not stick to the baking sheet, place food foil on it.


