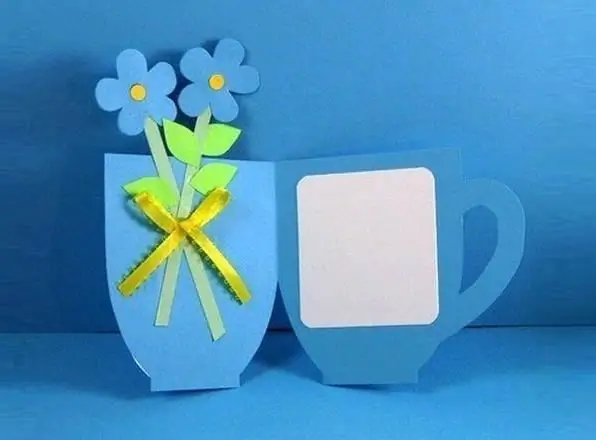
Such a postcard will be a wonderful gift not only for March 8, but also for a birthday, other holidays, because it looks very cute, but it is done simply and quickly.

To create a postcard, multi-colored thin cardboard, a sheet of plain printer paper, a small piece of narrow satin ribbon, glue.
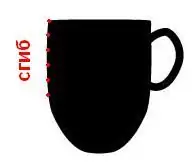
1. Cut a cup or mug with a handle out of colored cardboard. Please note that the postcard should be in the form of a book, and for this, before cutting out the cup, you will need to fold the cardboard in half.

2. On the right side of the postcard, stick a square of white paper designed to write congratulations.
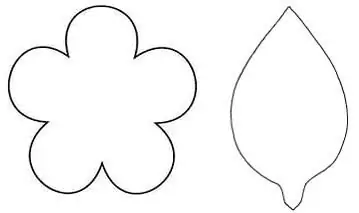
3. Cut out flowers, leaves, stems of flowers from colored cardboard (I described this process earlier, in an article about a very cheerful paper bouquet). Please note that since the postcard should turn out to be two-sided, two identical flowers must be glued to each stem (on both sides), while the leaves are only on one side. Thus, to create one cardboard flower, you will need one stem, 2-3 green leaves, two identical flowers.

4. Glue the stems of the flowers to the left side of the postcard. Make the simplest bow out of the ribbon and glue it on top, where the flower stems intersect.
If desired, decorate the outside of the card, as your fantasy tells you. The easiest way is to glue 2-3 more of the same flowers outside.
do not follow the directions for creating a postcard literally. Imagine with the shape and number of flowers, decoration of the outside of the postcard.


