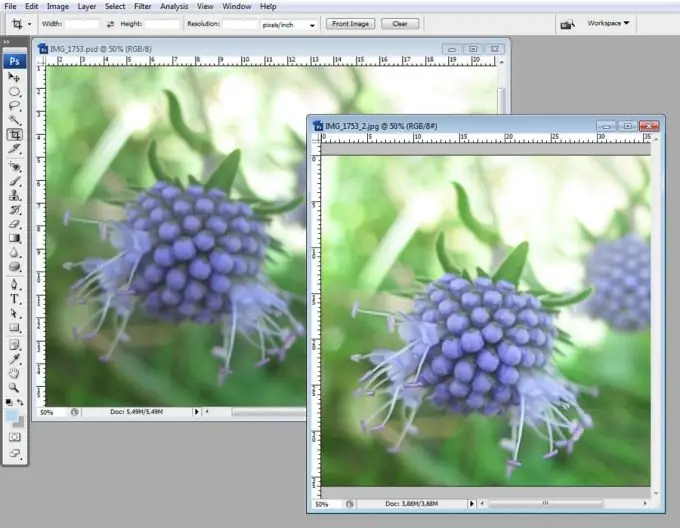
Our photos are not always perfect in all respects. And if the photo came out not clear enough, but you would not like to send it to the trash, let's try to fix the situation with the help of Photoshop. The clarity of the image can be improved to a certain extent, unless, of course, it is too blurry.

It is necessary
- Digital photo
- Graphic editor Adobe Photoshop
Instructions
Step 1
Open one of the insufficiently clear photographs in the graphics editor Adobe Photoshop using the "File - Open" menu or the keyboard shortcut Ctrl + O.
Step 2
Create a duplicate of our existing layer by pressing Ctrl + J keys. Shift + Ctrl + U will desaturate the duplicate layer.
Step 3
Select "Overlay" for this layer in the layers palette.
Step 4
Apply the "Other - HighPass" filter to the desaturated layer.
Step 5
Using the filter dialog box, select the optimal value for the "Radius" parameter, evaluating the changes taking place in the photo. In this case, the tick next to the "Preview" mode must be set.
Step 6
Sharpening may not be necessary for all parts of the photo. In some places, it will only cause the appearance of unnecessary defects. Therefore, where sharpness is not needed, erase the adjustment layer with the "Eraser" tool (called with the E key in the English layout).
Step 7
If you want to increase the adjustment effect, duplicate the desaturated layer with the keyboard shortcut Ctrl + J. Adjust the opacity of the top layer until you are satisfied with the result.
Step 8
Merge all layers using Ctrl + Shift + E keys. Adjust the brightness and contrast of the photo using whichever menu items “Image - Adjustments” you prefer. The simplest of them are “Image - Adjustments - Brightness / Contrast”.
Step 9
Save the processed photo under a new name using the "File - Save As" menu item and compare it with the original before processing.


