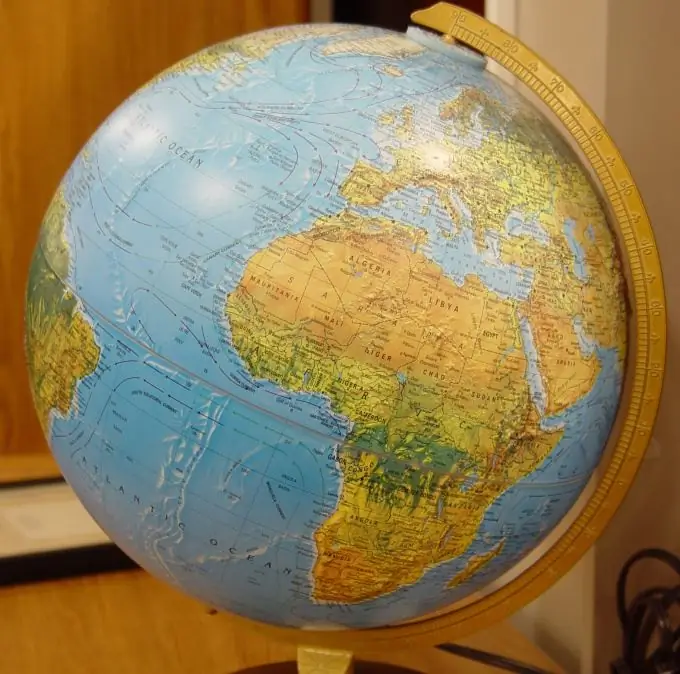
The globe is still very often depicted on all kinds of emblems of educational institutions and scientific societies. And this is not surprising. The reduced model of the planet for many centuries of its existence has become a kind of symbol of science. The globe can be seen in a painting dedicated to the life of not only a traveler or geographer, but also a philosopher, student, alchemist and many others. The globe has not disappeared both from school logos and from the festive decoration of school holidays. They make images of the globe in different techniques and from different materials, but in any case, you first need to draw a sketch.

It is necessary
- - paper;
- - the pencils;
- - images of different globes;
- - a map of the hemispheres.
Instructions
Step 1
The globe consists of two main parts - a ball and a stand with an axis. Modern school globes are usually made on a fairly simple stand. But on old engravings you can see very elaborate coasters made of very expensive materials. Before you start sketching, look at several pictures with different globes and choose the one that you like best.
Step 2
Place the sheet vertically, since the globe with a stand has a height greater than its width. Find the middle of the bottom edge of the sheet. Draw a vertical line from this point. It should be perpendicular to the bottom edge of the sheet. Draw a line across the entire sheet with a thin pencil.
Step 3
Determine on the vertical center point, which will be the center of the circle. It is located just above the middle of the sheet. Draw a circle. It should not extend to the side edges.
Step 4
Draw a grid on the circle. This can be done schematically. You already have one line, this is the part of the vertical centerline that is inside the circle. Draw 2 arcs between it and the circle, originating from the points of intersection of the center line with the circle. The arcs should be of different curvature, but be at an equal distance from each other.
Step 5
Through the center of the circle, perpendicular to the vertical centerline, draw an equator line. Draw parallels. There can be only 4 of them in the figure - two above the equator and 2 below. Divide the distance between the equator and one of the poles into 3 parts. Draw an arc through the point that is closer to the pole. Its curvature should "look" towards the equator. Draw another arc through the point marked by the second third of the line. Do the same for the second part of the picture.
Step 6
Above the top intersection of the centerline and circle, draw 2 straight lines upward. They should be very close to each other. Their length is about 1/4 of the distance from the pole to the equator. Do the same under the circle. Finish the axis with two small circles.
Step 7
Draw an arc that secures the axle to the stand. To do this, step back a little downward from the circle along the axial and draw an arc parallel to the circle. Drive it until it intersects with the top of the axis. Step back from the beginning of the arc a little further down the axial and draw another arc, slightly wider than the previous one. Continue the ends of the arc, located under the circle, with straight segments parallel to the bottom edge of the sheet. Finish the segments approximately at the level of the closest to the vertical centerline meridian and connect with a straight line.
Step 8
Draw a stand. To do this, along the outer arc, step back from the centerline a little to the side and draw a straight line down. Draw the same line on the other side of the centerline. The lines should be symmetrical. The length of the lines is approximately 2 times the distance between the circumference and the outer arc.
Step 9
At the bottom, draw an isosceles obtuse triangle. The apex of the obtuse angle is on the centerline, just above the point of intersection with the bottom line of the axis. The sides of the triangle are arbitrary, but the lower side should be no less than the distance between the meridians closest to the center. Otherwise, the globe will look unstable.
Step 10
Look at the map of the hemispheres and sketch out the lines of the continents on the globe. Draw Antarctica, trying to stick to the contours as much as possible. The image of the continents will be slightly different from that on the map, since the globe is curvature. But for a drawing it is enough if the continents are recognizable.
Step 11
Color the globe. The stand can be completely black, yellow or gray. Color the seas and oceans blue, and color the continents the way they would on physical or political maps.


