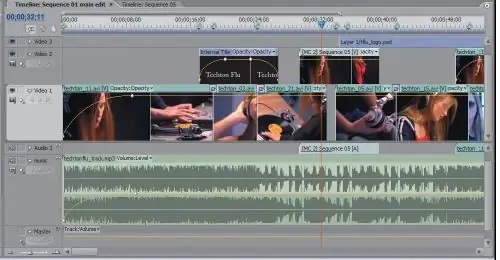
It often happens that a movie downloaded from the network or a home video shot with an amateur camera is not of good quality. This is often caused by poor shooting conditions, incorrect white balance set during shooting, poor lighting, too cheap camera, and many other factors. If your video is too dark, grainy, and full of noise, you can try improving the quality in Adobe Premiere.

Instructions
Step 1
Download and install the Neat Video plug-in for Adobe Premiere to enhance the quality of your videos.
Find the Shadow Highlight tool and apply it to your video to lighten an image that is too dark, and then uncheck the Auto Amount option and set the values you want in the Shadow amount and Blend with original settings.
Step 2
Adjust the settings until you are satisfied with the brightness and contrast of the image. Then apply the HueSatBright or Color Balance tool to the video. You will notice that the image quality has already improved markedly - the picture is lighter, brighter and richer.
Step 3
Now it's time to eliminate video noise. Launch the Neat Video plugin and select the Reduce noise option in its tools. On the Effect Controls panel, click on the rectangular icon and in the plugin settings, click on the Auto Profile button.
Step 4
Configure the plugin in automatic mode so that it can analyze the noise and eliminate it qualitatively. When the plugin is configured for a specific video frame, look at the percentage of the configuration quality in the lower right corner of the program.
Step 5
The value must be greater than 70%. Apply all profile settings and open the Noise filter setting option. Select the following sections: Clip preset> Advanced> Remove only half of weaker noise. This way, the fine details of the video will be preserved when the noise is removed.
Step 6
Click Apply and then apply the S-Glow effect to brighten the clip image and make the image look even better.


