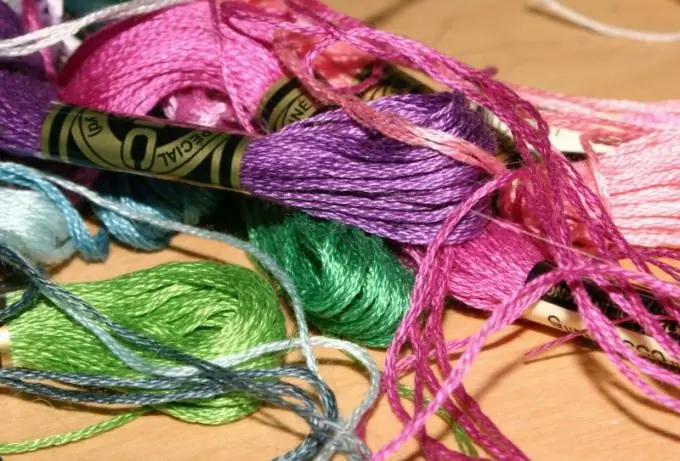
You can decorate the wall of a nursery or kitchen with a picture made using the thread applique technique. This is a fascinating type of artistic creation that even younger preschoolers are happy to master. It is also important that all the materials for this type of fine art are very easy to get, and you may already have something, if only you are fond of embroidery or knitting.

What to cook
For this type of applique, of course, threads are needed. Any leftovers will do - balls of wool and cotton wool, small pieces of floss, etc. You also need a sheet of colored cardboard for the background, regular brown cardboard for templates, scissors and a glue stick. For a start, it is better to choose thick threads. You will also need a drawing. It is better to choose one that has pronounced contours of all details. Pictures from cartoons are perfect.
Image translation
Transfer the selected picture to ordinary cardboard. This can be done in any available way - through a carbon copy, by spraying, scratching, etc. Cut out each piece and mark the place for it in the background. You can draw a picture, but it is better to do this on a sheet intended for templates. Small parts do not need to be cut. If this is a head, cut out a circle of the desired shape without eyes and nose, which are best cut separately, but you can also stick it on the finished head without any template.
Blanks
Cut the threads into pieces that are slightly longer than the template. Grease the template thoroughly with a glue stick. You can, of course, use other types of glue, but PVA can leave stains, and from silicate, shiny hard pieces remain on the surface. Stick the threads of the same color so that there are no gaps between them. Let the work dry. This will happen very quickly. In the same way, glue the areas of a different color and let the applique again dry. Fill in the entire template space one by one. Trim the edges neatly. Prepare all parts of the drawing in the same way. If you are making an image of an animal, you do not need to trim the edges - the animal will appear fluffy.
Application
Lay out a drawing from the blanks, placing them in the designated places. Lubricate the back of each piece with glue and press firmly against the background. In this case, you can already use any glue for cardboard, PVA is even more suitable than a glue stick. Glue all the pieces, let the appliqué dry. Small parts can be made from both thread and paper. For example, it is better to cut the stamens of a flower from black threads, and the eyes, whiskers or noses of animals and dolls - from colored paper. You can also draw outlines if you have black or dark brown threads at hand. It is convenient to do this in the following way. Take a plastic bottle with PVA glue, pierce it with a needle and dark thread. Pass the thread through the bottle, and then carefully lay it along the contours of the design. For a stroke, it is better to take a not very thick cotton thread (for example, "iris").


