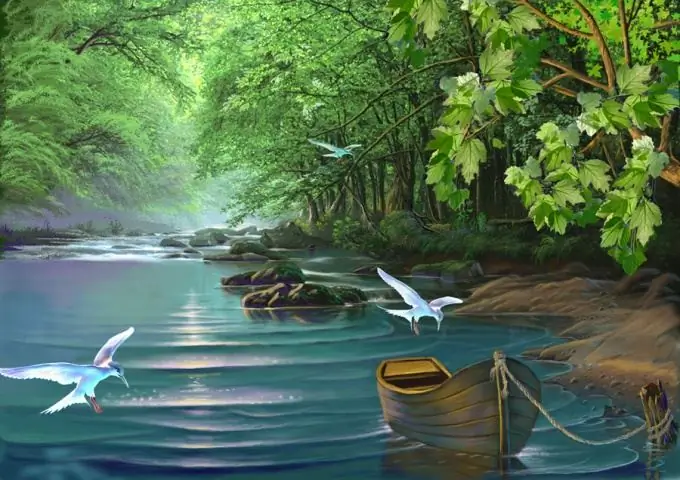
Acrylic paints differ in that it is not necessary for them to prepare the base in any special way. However, in order to paint this painting, we will take a fiberboard panel and cover it with three coats of acrylic primer. This will help us get a surface, the texture of which will set the "tone" of the whole picture.

It is necessary
Fiberboard panel, gypsum primer, brushes, palette, acrylic filler, acrylic paints, pencil, fixative, jar of water, cloth, piece of cardboard
Instructions
Step 1
Apply underpainting. Cover the panel with three coats of plaster acrylic primer. Let the primer dry. Mix azure paint with filler in a 1: 1 ratio. The paint should be thin enough to cover the primed board. Use a 38mm decoration brush and paint so that white primer shows through in places. This will help to show the texture of the primer, which is important for further work. Let the paint dry.
Step 2
Outline the main areas of the composition. Take a pencil and draw a line for the horizon. Then sketch out the outlines of the sand cans in the foreground and middle and the reeds in the foreground. Draw with pencil strokes the flow of water in the river channel. Draw sand banks in the background. Cover the painting with a layer of fixative to keep the pencil lines from smudging when you paint.
Step 3
Indicate the direction of the water flow. Dry the brush with a napkin. Mix the burnt umber with a little water and add a few more reeds in the foreground. Take a # 5 brush and paint the distant areas of the water with azure paint to indicate the direction of its movement. Apply a thin layer of paint. Continue to paint the water, following its current and gradually approaching the reeds.
Step 4
Draw the reeds with a piece of cardboard. Use the # 5 brush to deepen the shadows on the sand banks using raw umber and burnt umber. Apply paint over the "stained" area in the lower left corner of the painting. Draw the reeds growing in the foreground. Mix a thick, opaque mixture of cadmium yellow, oxidized yellow paint and white and paint on the sunlit areas of the cans with a # 2 brush. Take a piece of cardboard and draw a line along the edge of it, representing the sun-drenched reeds.
Step 5
Color the sky. Dry the brush # 5 and use burnt umber to paint the reflection of the main can in the water. Add a few random strokes of paint to the foreground of the painting to enrich the texture. Mix in equal proportions azure paint and white. Lightly tone down the blue tone of the mixture with raw sienna. Take a # 4 brush and paint the sky with loose strokes so that the bottom layer of paint shows through in places.
Step 6
Write horizon and water. Mix oxidized green paint and burnt umber. Take the # 2 brush and paint the horizon with this mixture. Mix equal proportions of azure paint with whitewash. Using a # 2 brush for small areas and a # 5 brush for larger areas, paint over the water and the mud behind the reeds. Apply the paint in short horizontal strokes with brown dirt visible between them.
Step 7
Add some highlights and a new texture. Dry your brush and paint with burnt umber a shadow on the water on the left side of the painting. Then add some azure paint to the white, take a # 5 brush and paint faint highlights on the water. Add some more azure paint and paint highlights on the water just behind the reeds.


